Manage checkpoints
Checkpoint is the snapshot of test data taken at a specific time. A checkpoint is used to verify whether the current state of the data source is different from its previous state.
You can use checkpoints in database validation cases where value changes constantly by comparing the data snapshot with the state of the data source later. For more details, refer to [Common] Verify Checkpoint keyword.
This document shows you how to create checkpoints from test data files supported by Katalon Studio.
Create a checkpoint from Test Data
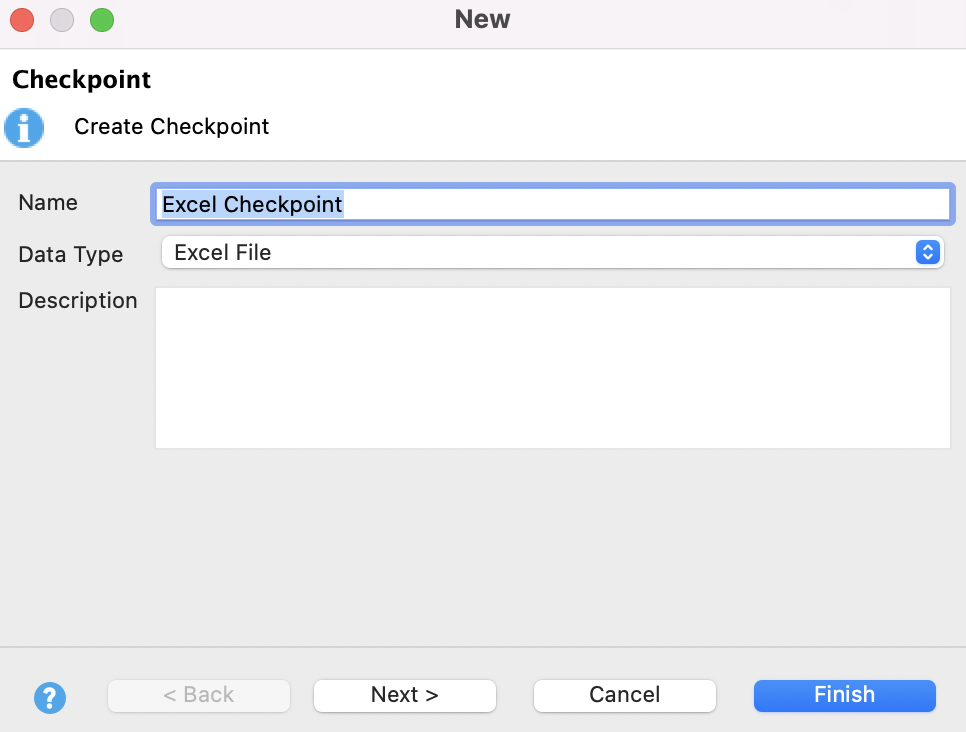
- In the displayed New Checkpoint dialog, enter the checkpoint name and select Excel File as Data Type.

Click Next.
- In the next dialog, click Browse to select from the list of data files defined in Katalon Studio, then click Finish.

- Click Take Snapshot to take a snapshot of the test data. The state of the selected data source will be captured and displayed in the preview section as below.

The checkboxes for the data cells indicate whether they will be used when verifying against other states of this data source later.
Create an Excel checkpoint
- In the displayed New Checkpoint dialog, enter the checkpoint name and select Excel File as Data Type.
Click Next.
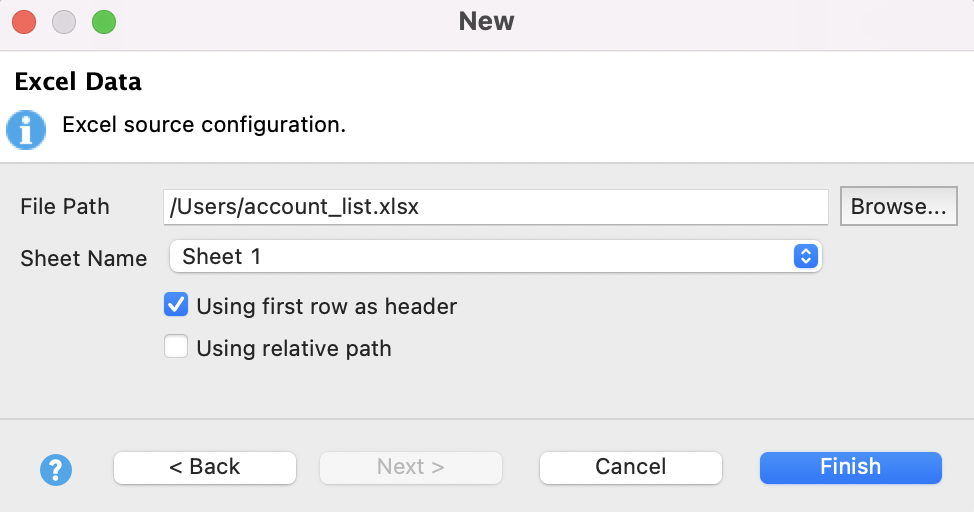
- In the next dialog, click Browse to select the excel file. Specify the excel sheet to be loaded, then click Finish.
- Click Take Snapshot to take a snapshot of the test data. The state of the selected data source will be captured and displayed in the preview section as below.
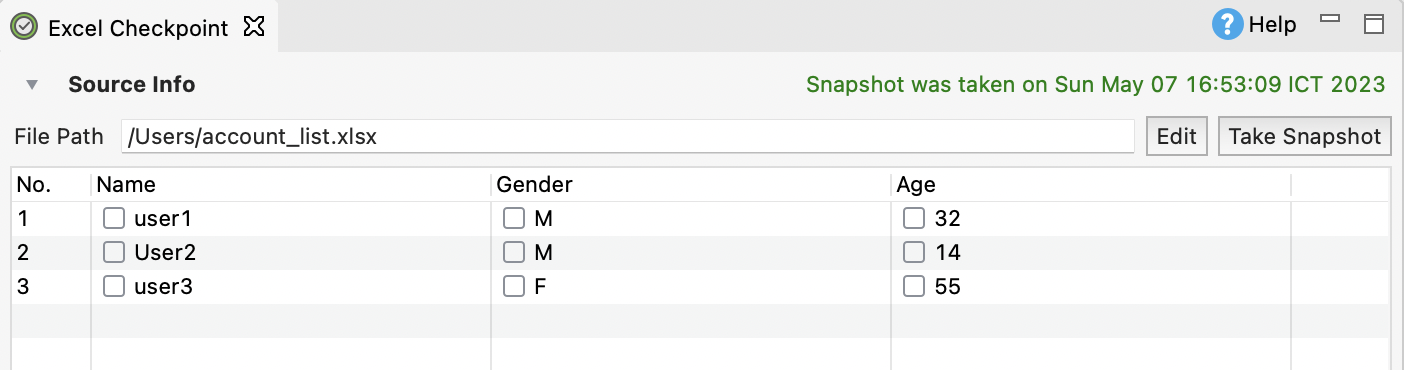
The checkboxes for the data cells indicate whether they will be used when verifying against other states of this data source later.
Create a CSV checkpoint
- In the displayed New Checkpoint dialog, enter the checkpoint name and select Excel File as Data Type.

Click Next.
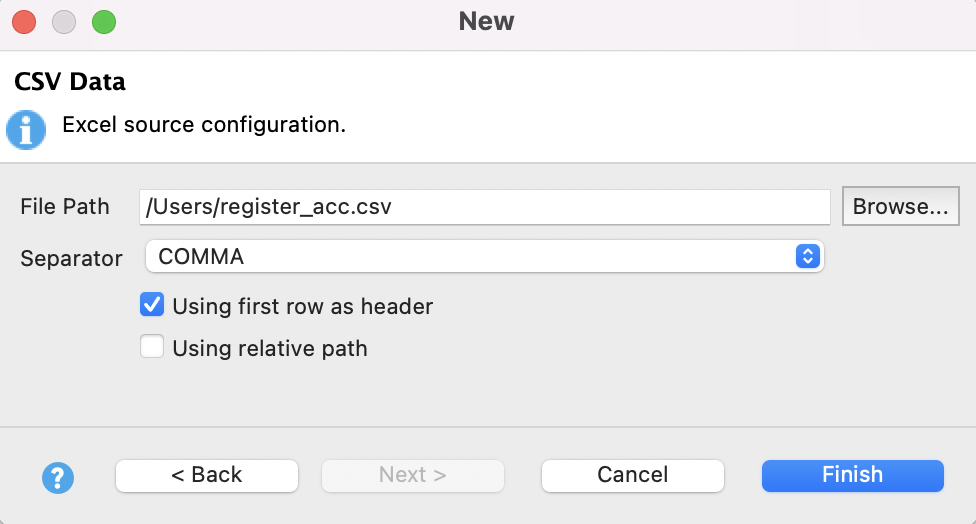
- In the next dialog, click Browse to select the CSV file. Specify the character to be used as the separator for CSV file then click Finish.
- Click Take Snapshot to take a snapshot of the test data. The state of the selected data source will be captured and displayed in the preview section as below.
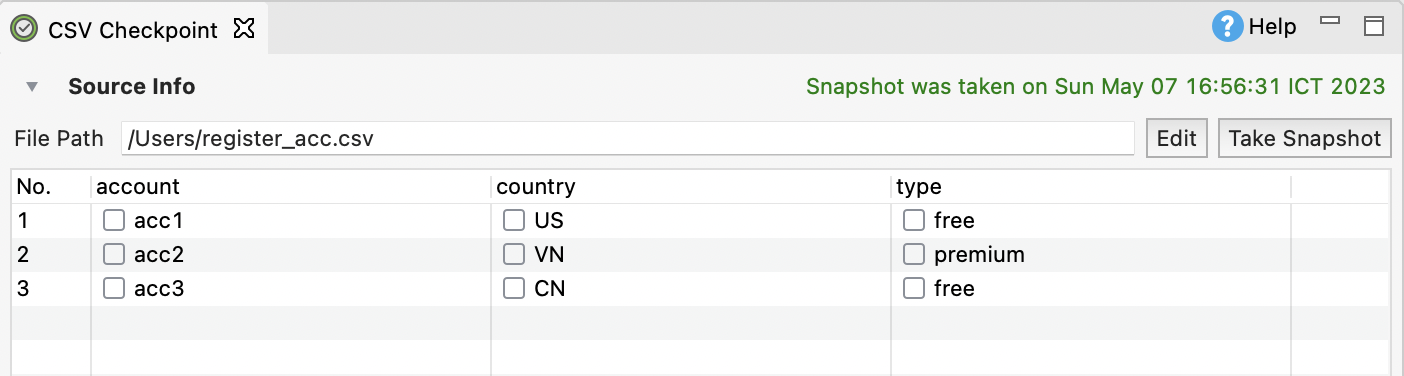
The checkboxes for the data cells indicate whether they will be used when verifying against other states of this data source later.
Create a Database checkpoint
- In the displayed New Checkpoint dialog, enter the checkpoint name and select Excel File as Data Type.

Click Next.
- In the next dialog, enter the database connection details and data query, then click Finish.
 Note:
Note:- If the User and Password are already provided, the system will prioritize using these credentials for authentication. Otherwise, it will check the Connection Properties table for
userandpasswordproperties.
- If the User and Password are already provided, the system will prioritize using these credentials for authentication. Otherwise, it will check the Connection Properties table for
- Click Take Snapshot to take a snapshot of the test data. The state of the selected data source will be captured and displayed in the preview section as below.
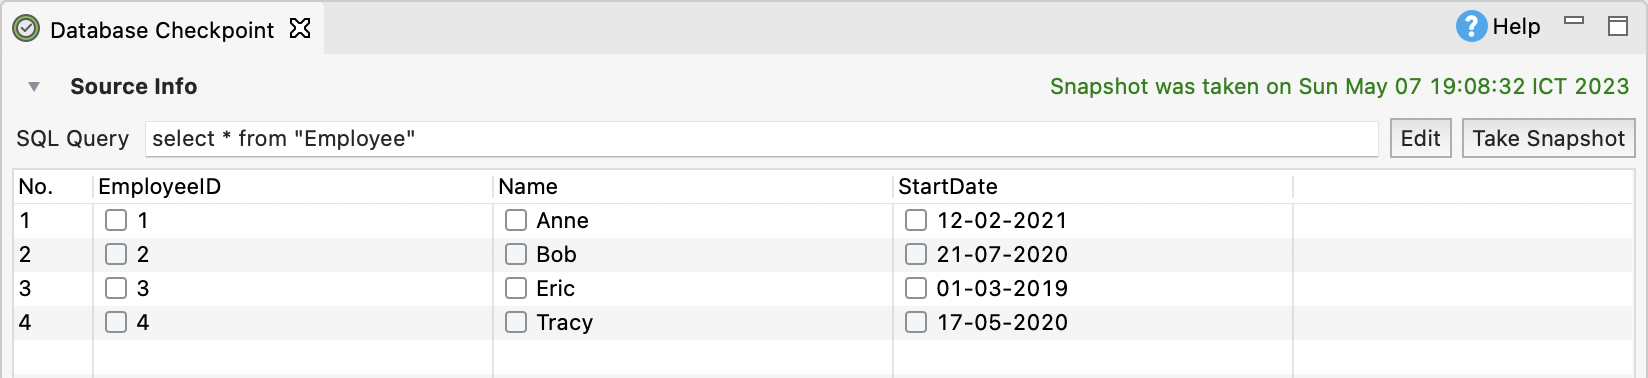
The checkboxes for the data cells indicate whether they will be used when verifying against other states of this data source later.