Spy mobile utility

The Mobile Object Spy utility allows you to capture available test objects of a mobile application. These captured objects are then applied directly in your mobile automation tests. Besides capturing, you can also modify the object properties directly with the utility, which helps save time and effort in managing test objects.

See the following table to learn about the device types you can use with Mobile Object Spy:

Device typeDescription
Local devices
With local devices, you need to set up the development environment before testing.
Remote devices
TestCloud devices (available from 9.5.0+)You can test with Android and iOS mobile devices with no further setups. A TestCloud Mobile Native App Testing subscription is required. For more details, see TestCloud overview.

Capture objects with Mobile Object Spy

This guide helps you get familiar with capturing Mobile objects of an application using Spy Mobile Utility.
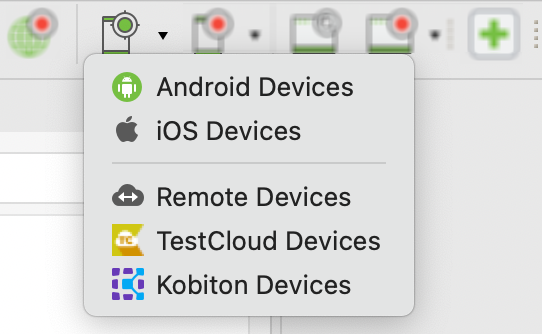
  1. From the main Toolbar, click the Spy Mobile icon and select your device type, for instance, Android Devices.
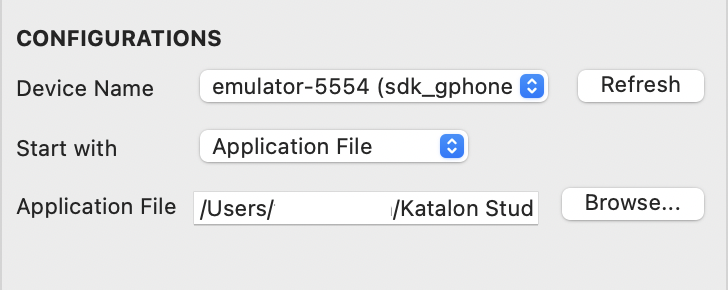
  2. In the displayed Mobile Object Spy dialog, specify the following information at the Configurations section:

    • Device Name: A mobile device where Katalon Studio launches the application. All of your connected devices should be displayed in this list
    • Start with: In the drop-down list, you can select either Application File or Application ID
      • Application File: Browse your tested application (.apk file for Android, .ipa for iOS)
      • Application ID: Specify the application ID of your tested application, which is either the package name of an Android app or the bundle identifier of an iOS app
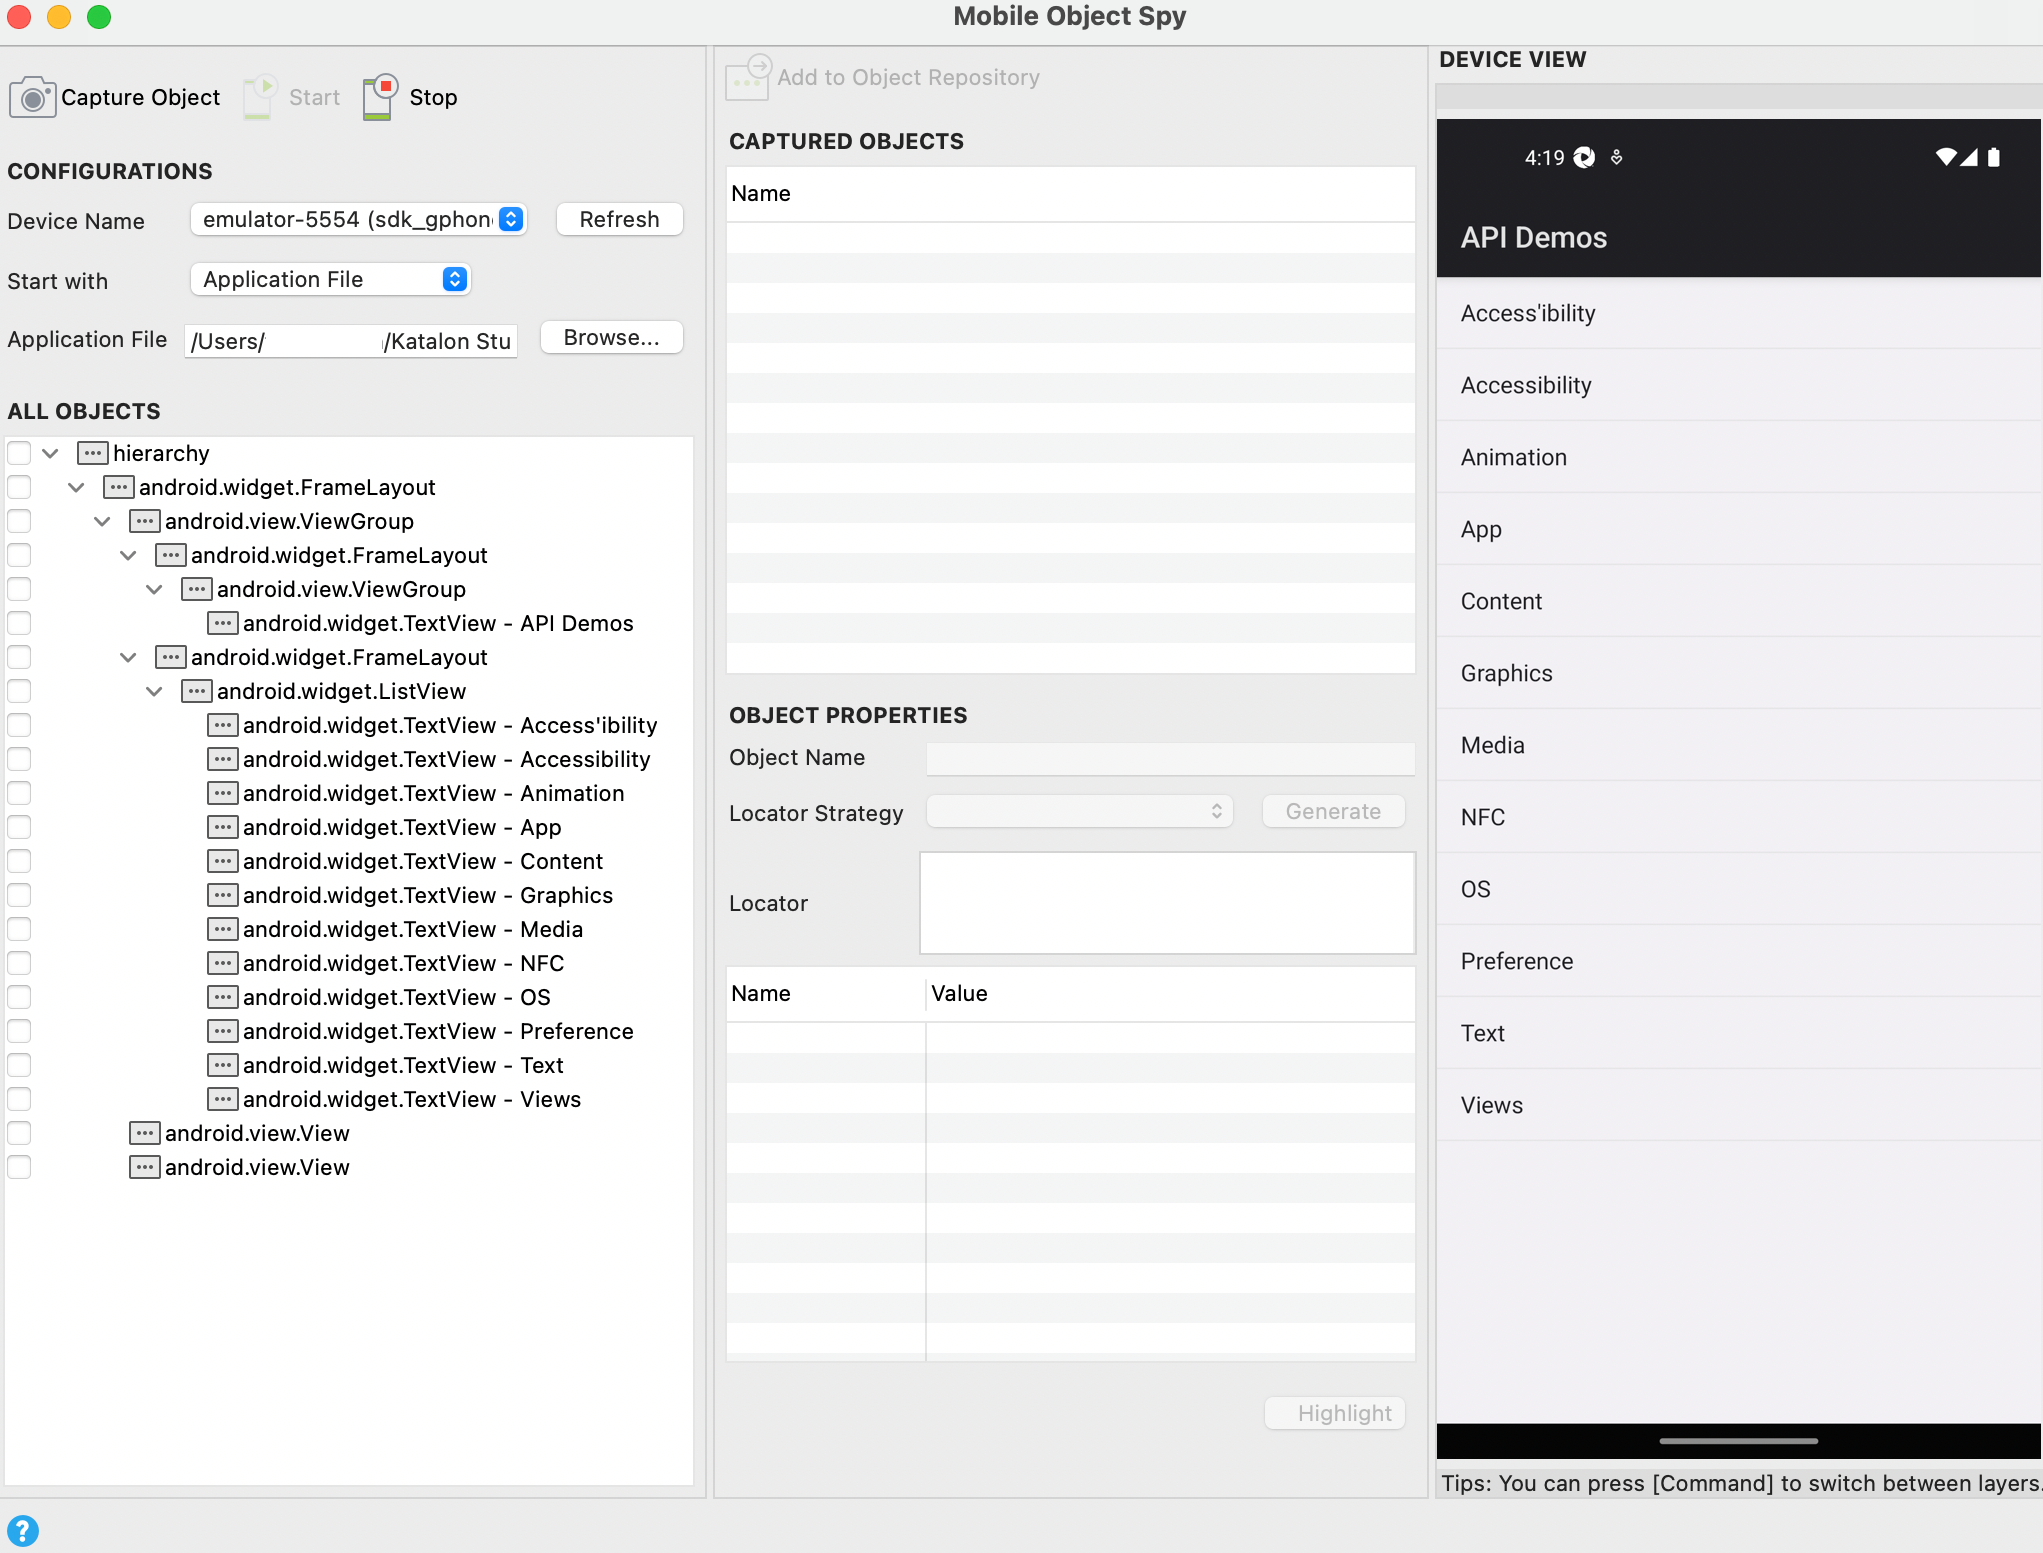
  3. Click Start to begin spying the application under test (AUT). Wait until the AUT is launched, you can see the application display in Device View and the objects in All Objects.
    • Device View is a simulator of the device's screen.

    • All Objects captures and organizes all the displayed mobile objects of Device View in a tree.

    Mobile Object Spy dialog
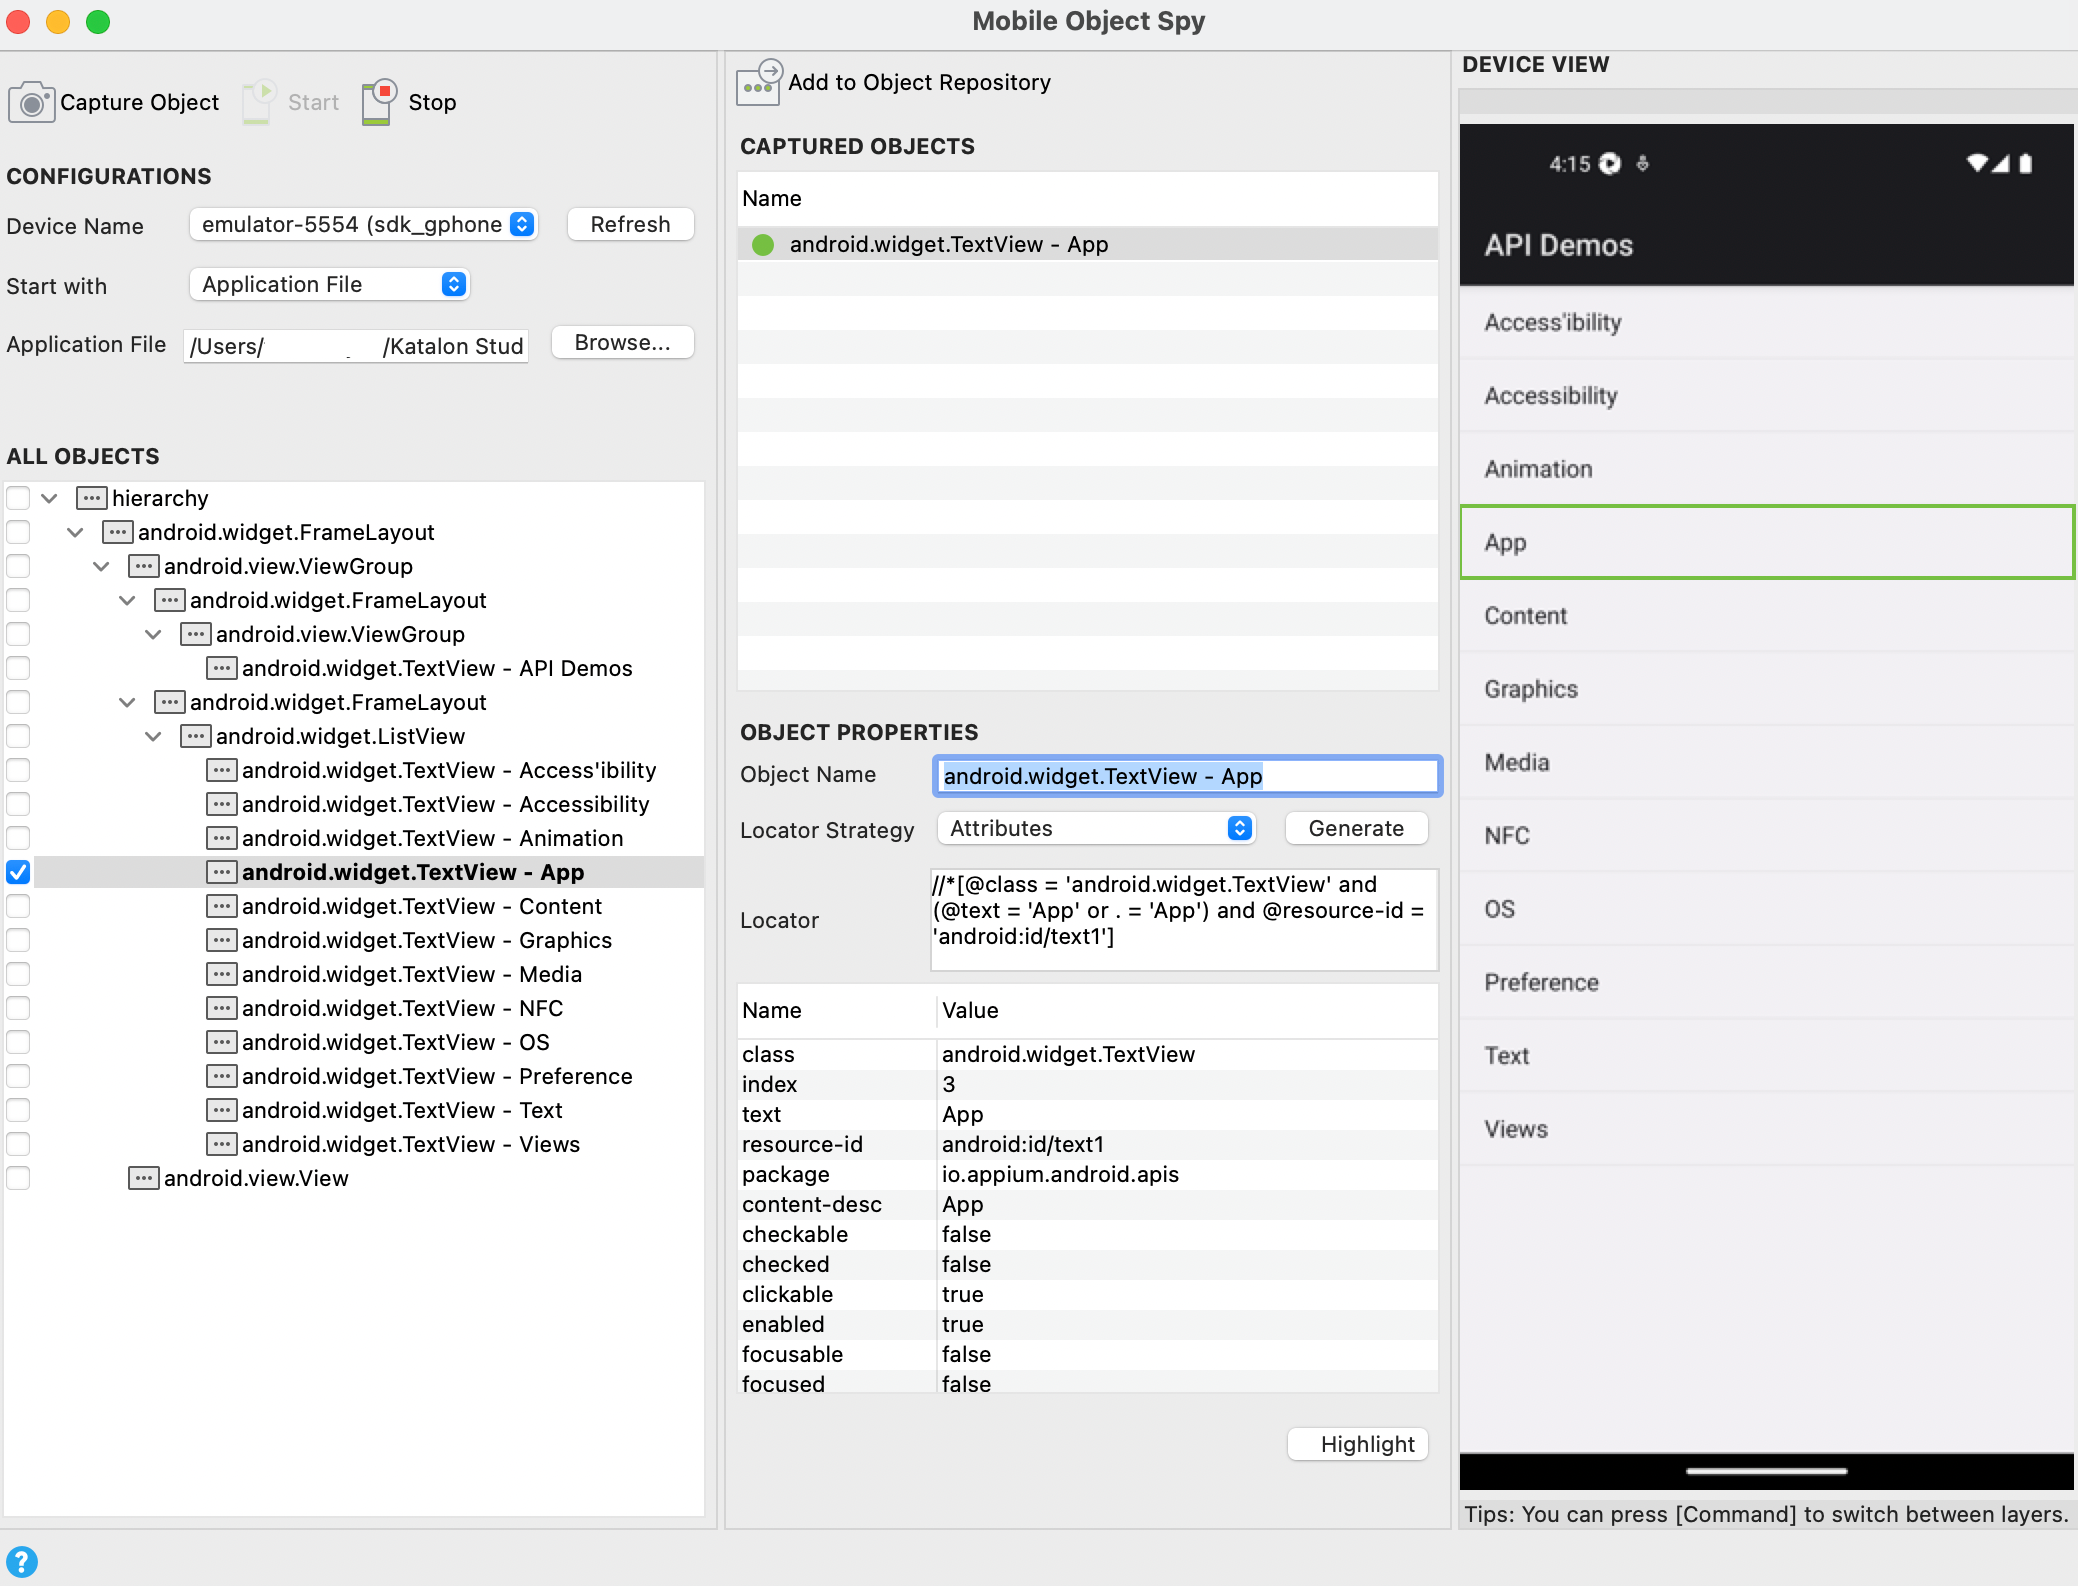
  4. When you click any object either in All Objects or in Device View, Katalon Studio highlights their counterpart for verification.
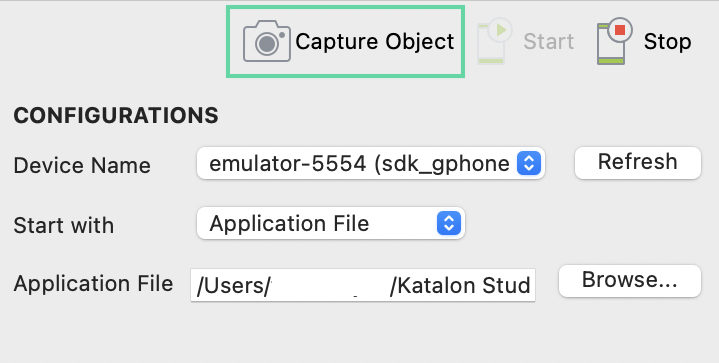
    To make sure the Device View displays the current screen of the AUT on the device, you can click the Capture Object button to reload Device View and refresh All Objects.
  5. Tick on any object checkbox in All Objects.
    Katalon Studio captures the selected objects and displays objects' properties in the Object Properties table.

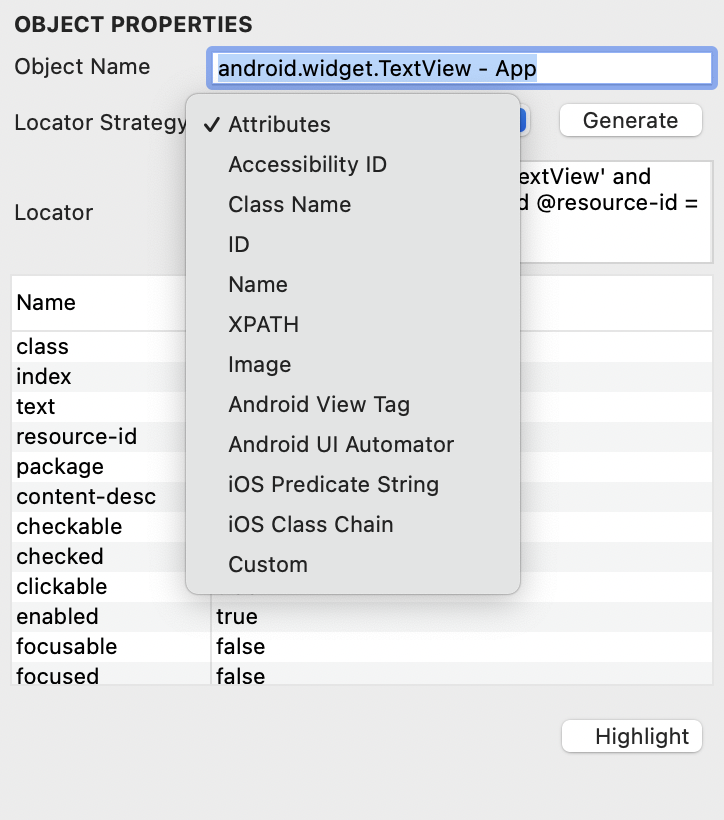
    The most important property of an object is its locator strategy and value. The default locator is a unique value in detecting that object. If you prefer another locator strategy, choose among the provided options and generate a new locator. Then click Highlight to confirm your newly updated locator can detect the target object on its screen correctly.

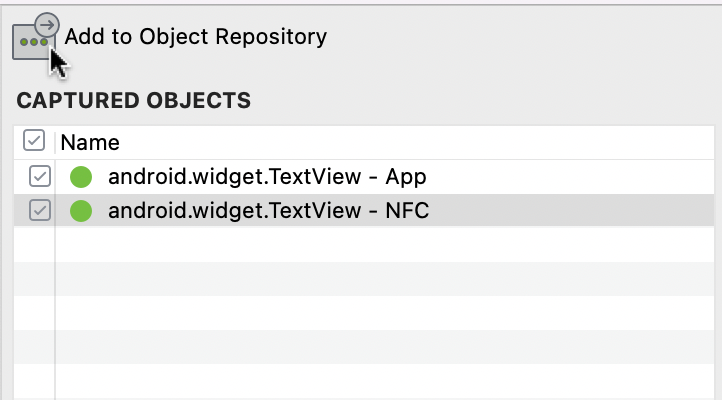
  6. Click Add to Object Repository to save the object you want to use in your tests.
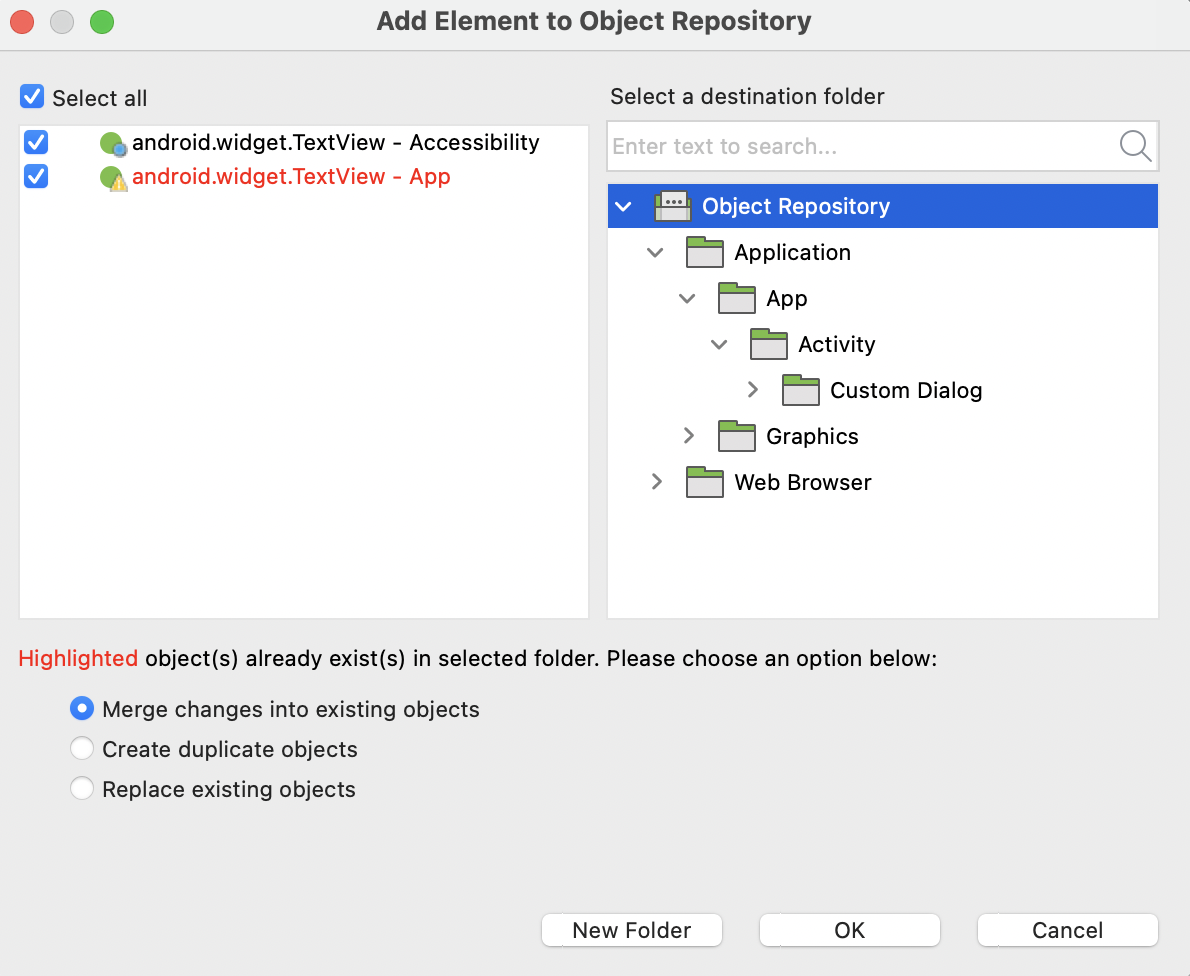
  7. In the displayed Add Element to Object Repository dialog, select where you want to save the objects, then click OK.

    Add Element to Object Repository dialog

    You can select one of these options to save:
    • Merge changes into existing objects: Add unique changes of the newly recorded object to the existing object, but still keep the existing object ID.
    • Create duplicate objects: Save the newly recorded object separately from the existing object.
    • Replace existing objects: The newly recorded object overrides the ID and attributes of the existing object.
    The captured objects will be added to Object Repository accordingly.
  8. You can continue with the current mobile screen or navigate to other interfaces as needed.

Use Mobile Object Spy on TestCloud devices

TestCloud provides a wide range of mobile devices, supporting both Android and iOS, that are accessible from Katalon Studio. You just need to upload your application file to TestOps and directly capture the application objects.

Requirements

  • Katalon Studio Enterprise (KSE) version 9.5.0 onwards.
  • A TestCloud Mobile Native App Testing subscription. You can check which type of TestCloud environment you can access in Platform integration settings.
  • You have enabled TestCloud integration in Project Settings. See Integrate Katalon TestCloud with Katalon Studio.

Upload a mobile application to TestOps

Follow these steps to upload a mobile application to TestOps.

  1. Sign in to Katalon TestOps and go to your project.
  2. Go to Test Execution > Application Repository.
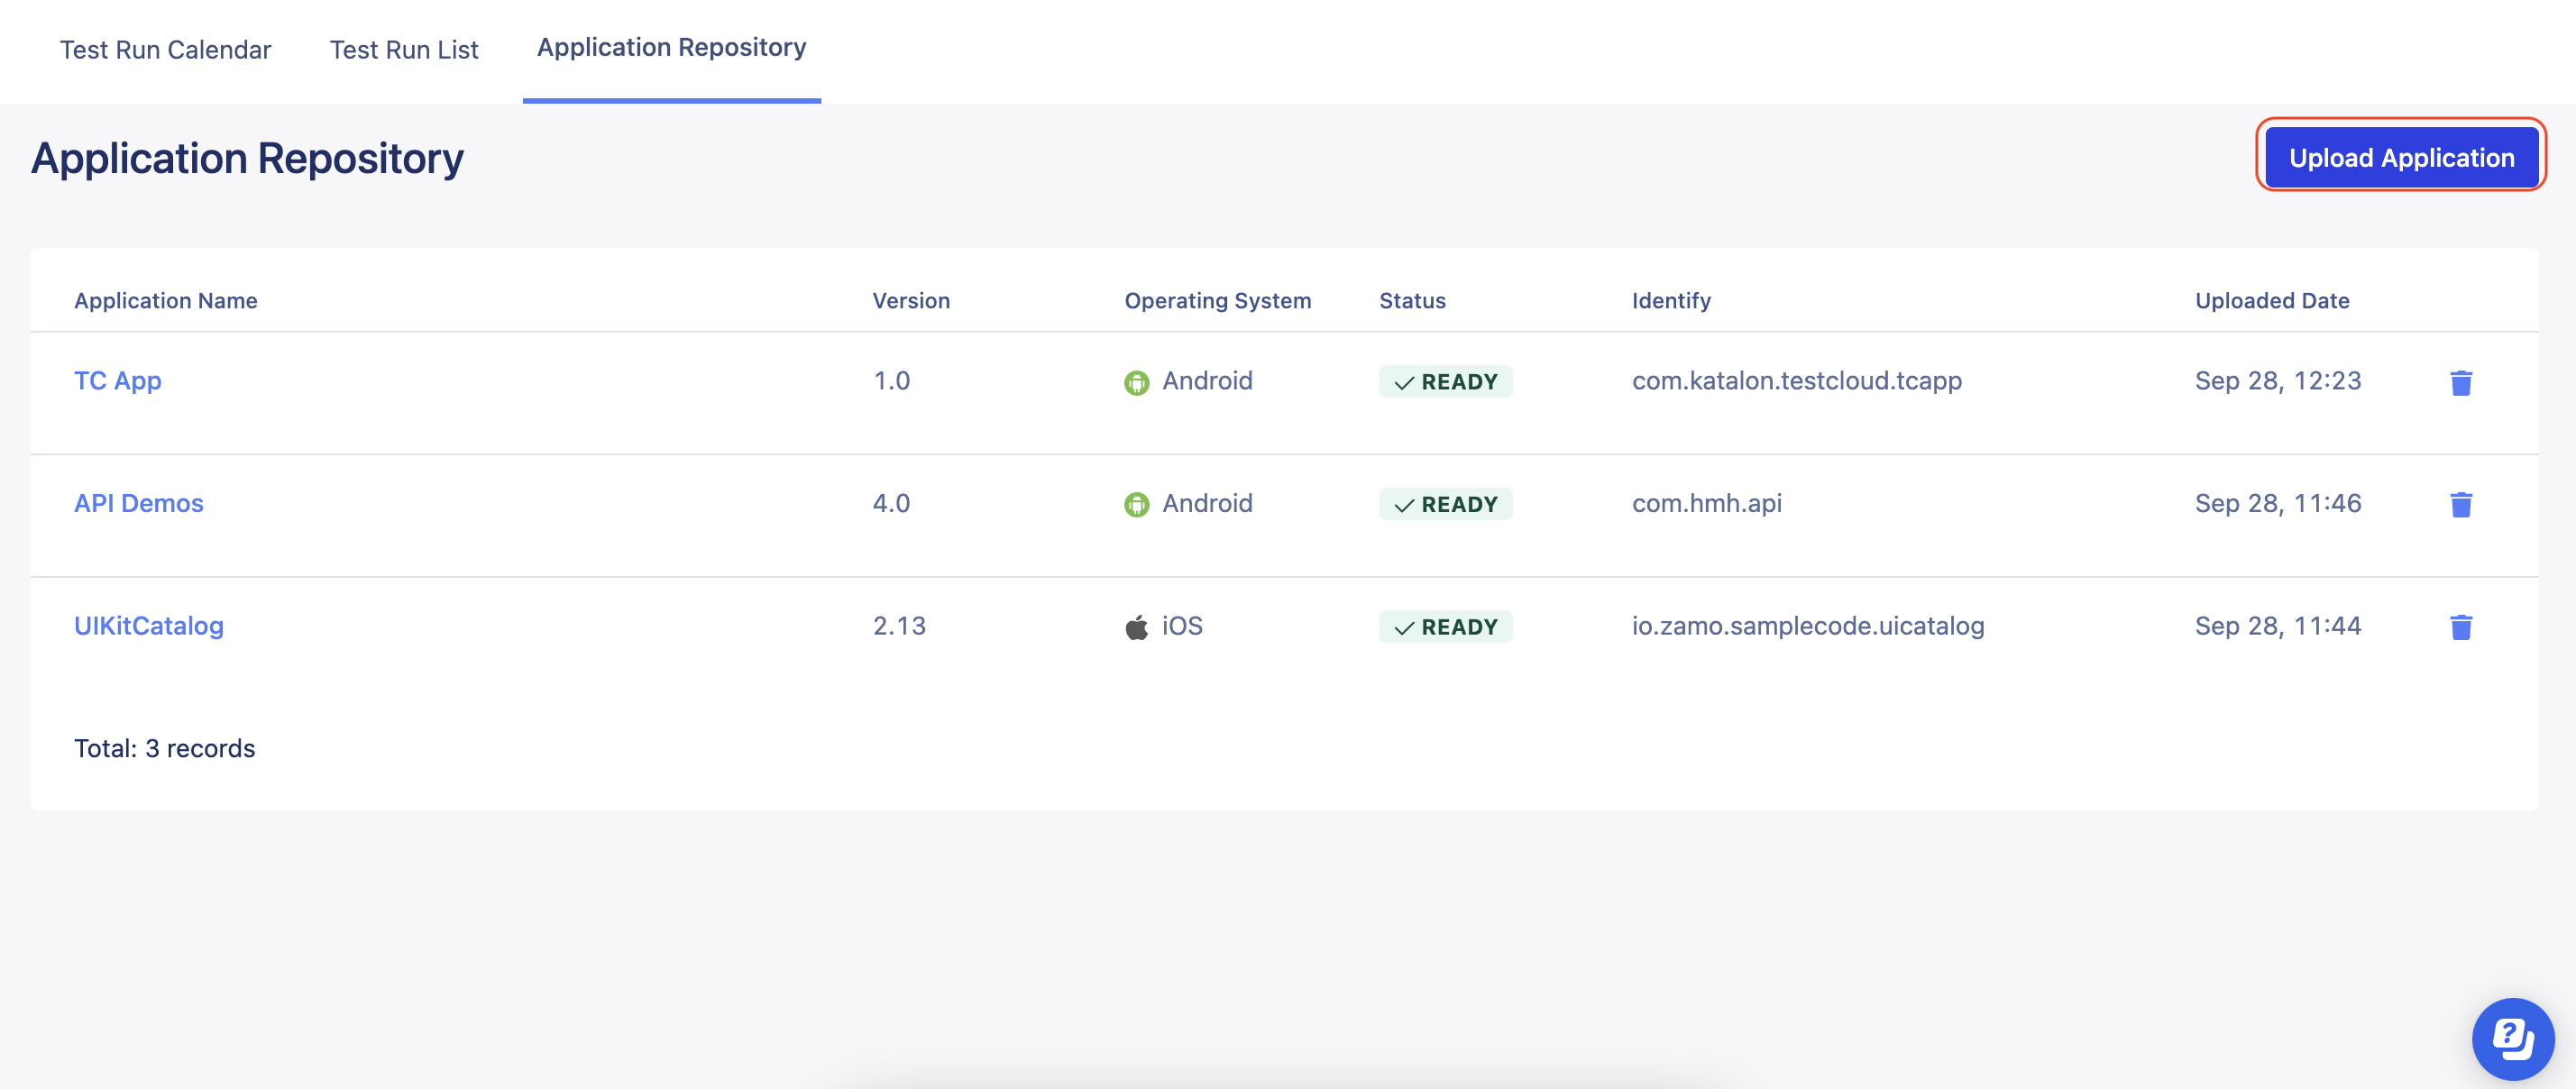
  3. In the Application Repository page, click Upload Application.
    Application Repository list in Katalon TestOps
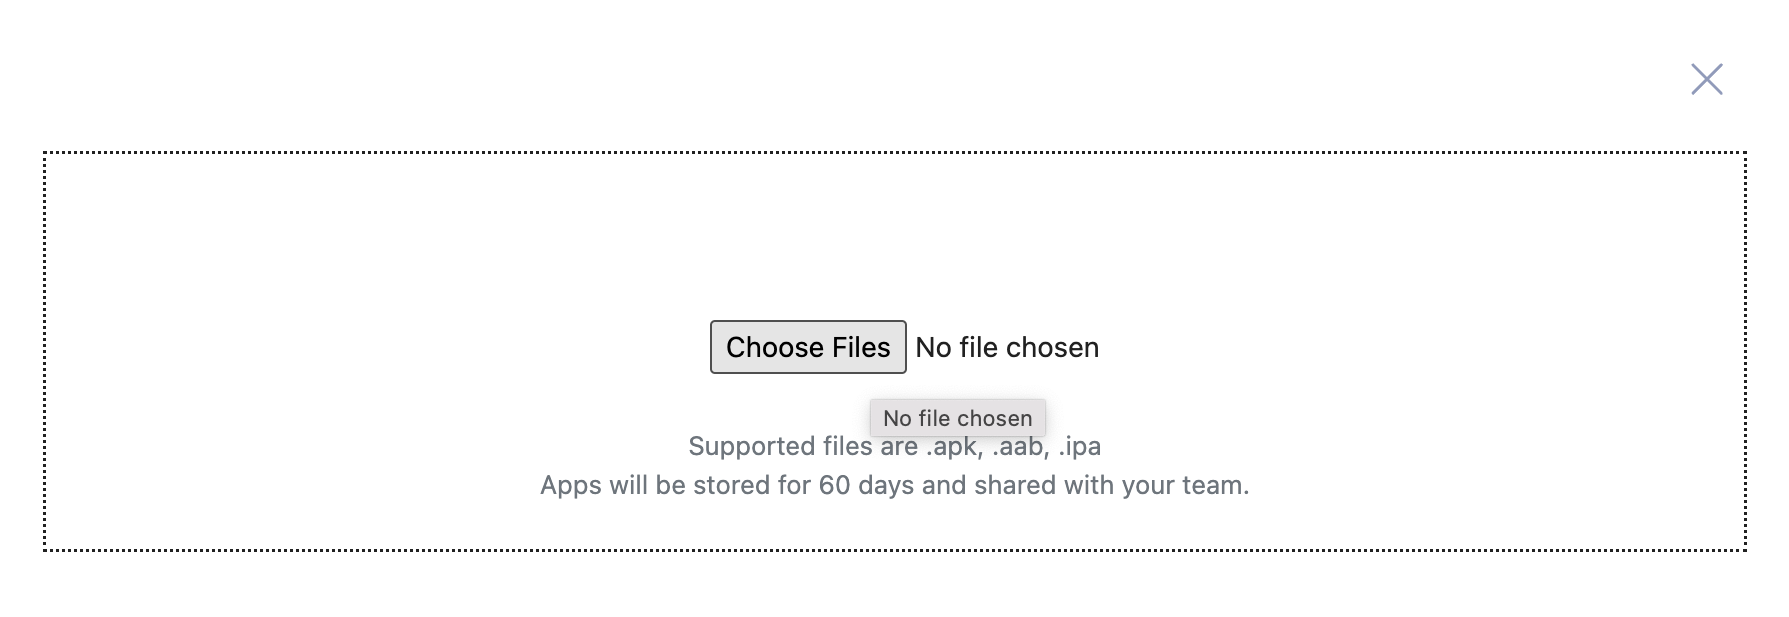
  4. In the Upload Application dialog box, click Choose Files and select the application you want to upload.
    Choose application file to upload to Kataolon TestOps.
    Note:
    • Application Repository supports uploading application files in .apk, .aab, and .ipa.
    • The size limit for the uploaded application is 500MB.

Your mobile application file is successfully uploaded to TestOps.

Spy objects with a TestCloud device

You can capture objects on a TestCloud device. Follow these steps:
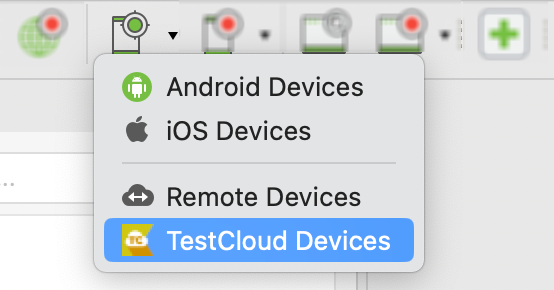
  1. From the main toolbar, click the Spy Mobile icon and select TestCloud devices.
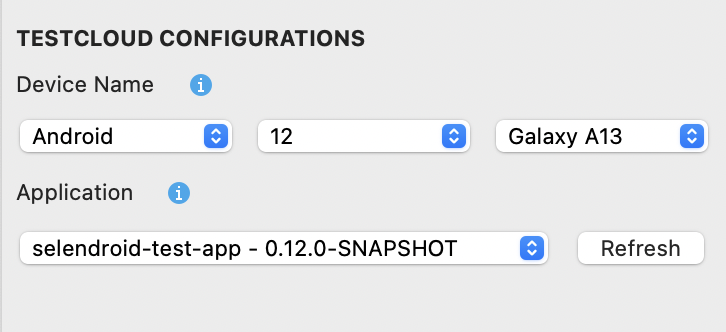
  2. In the TestCloud Configurations section, do as follows:
    1. Device Name: select the mobile operating system (OS), the version of the OS, and Studio will list out the available devices accordingly.
      For example, here we select the Android OS version 12, and the device Galaxy A13.
    2. Application: Select the application file you want to test from your TestOps uploads.
  3. Click Start to launch the AUT.
  4. Follow from step 3 of Capture objects with Mobile Object Spy to capture objects.

Known limitations

  • Appium known limitation: You may get incorrect object highlighting when rotating the device to landscape view. For workaround, after rotating, you need to click on the Capture Object button to refresh the All Objects tree, then the highlighting will work normally.
  • Mobile Object Spy does not support capturing Android EditText message.

  • Depending on the TestCloud devices, the default timeout is in the range of 60-120 seconds.