Azure DevOps Integration
This guide shows you how to install the Katalon for Azure DevOps extension and run Katalon projects with Azure DevOps.
Requirements
An active Katalon Runtime Engine license.
Install the Azure DevOps Extension
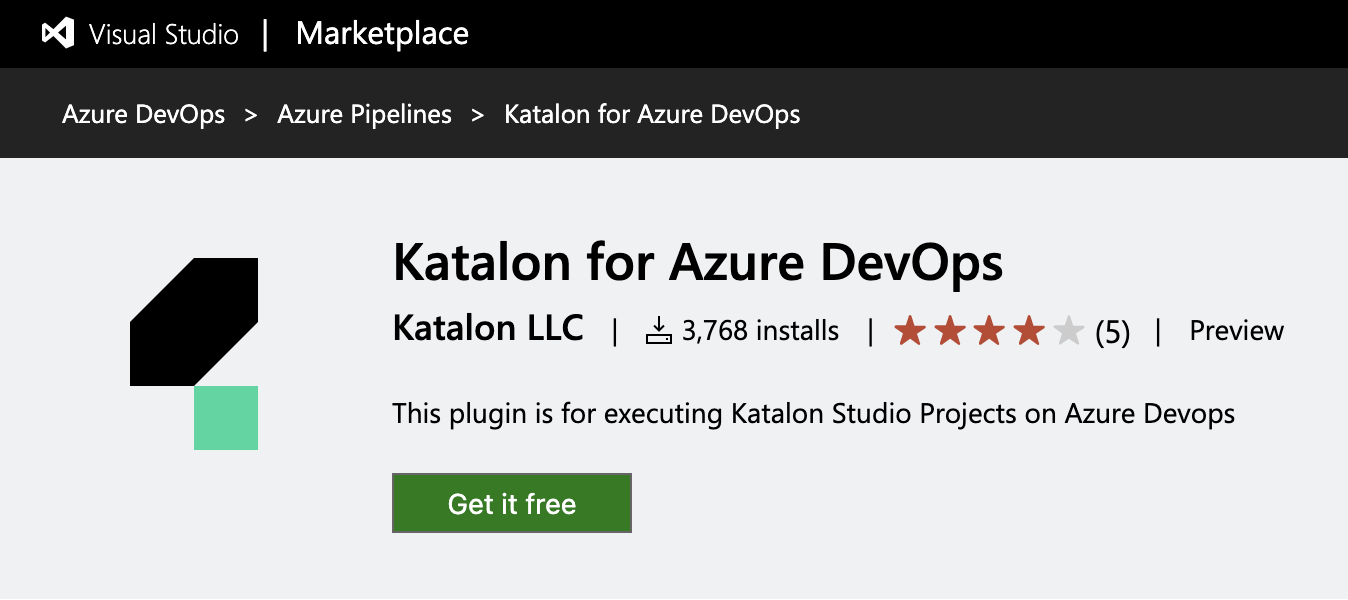
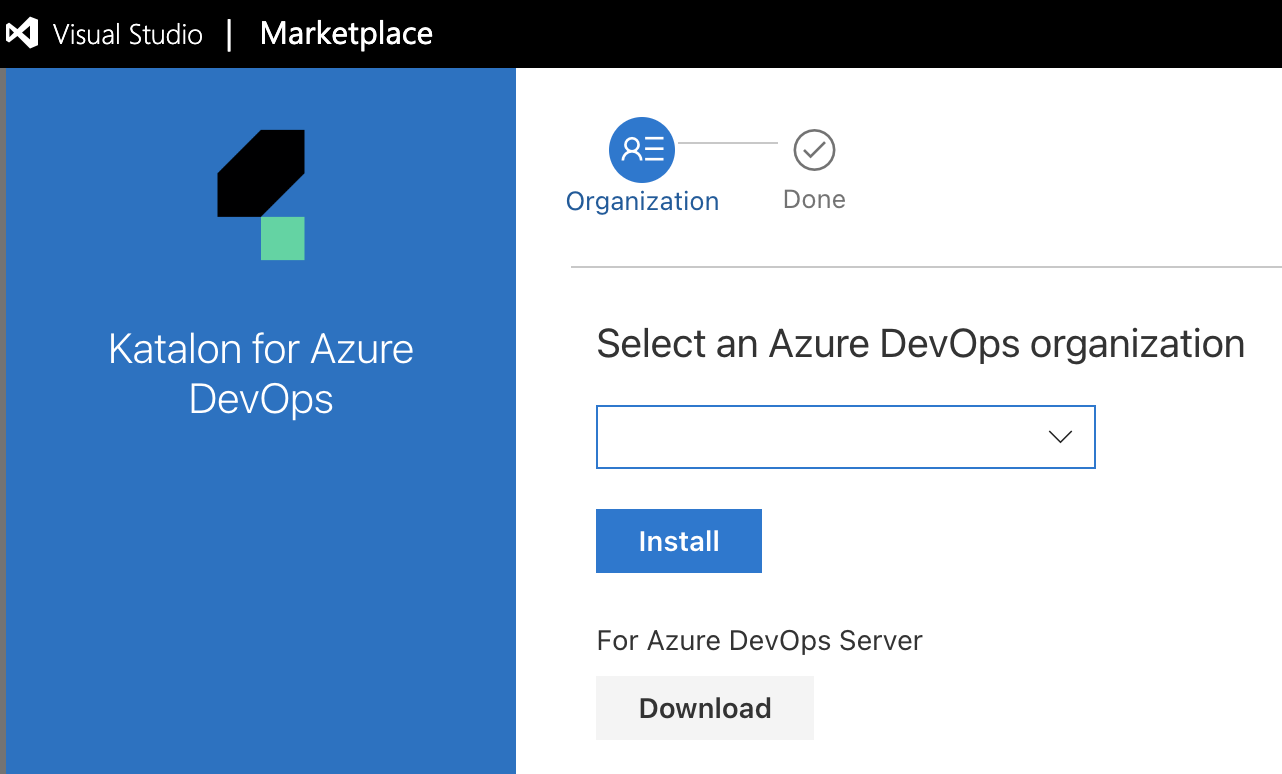
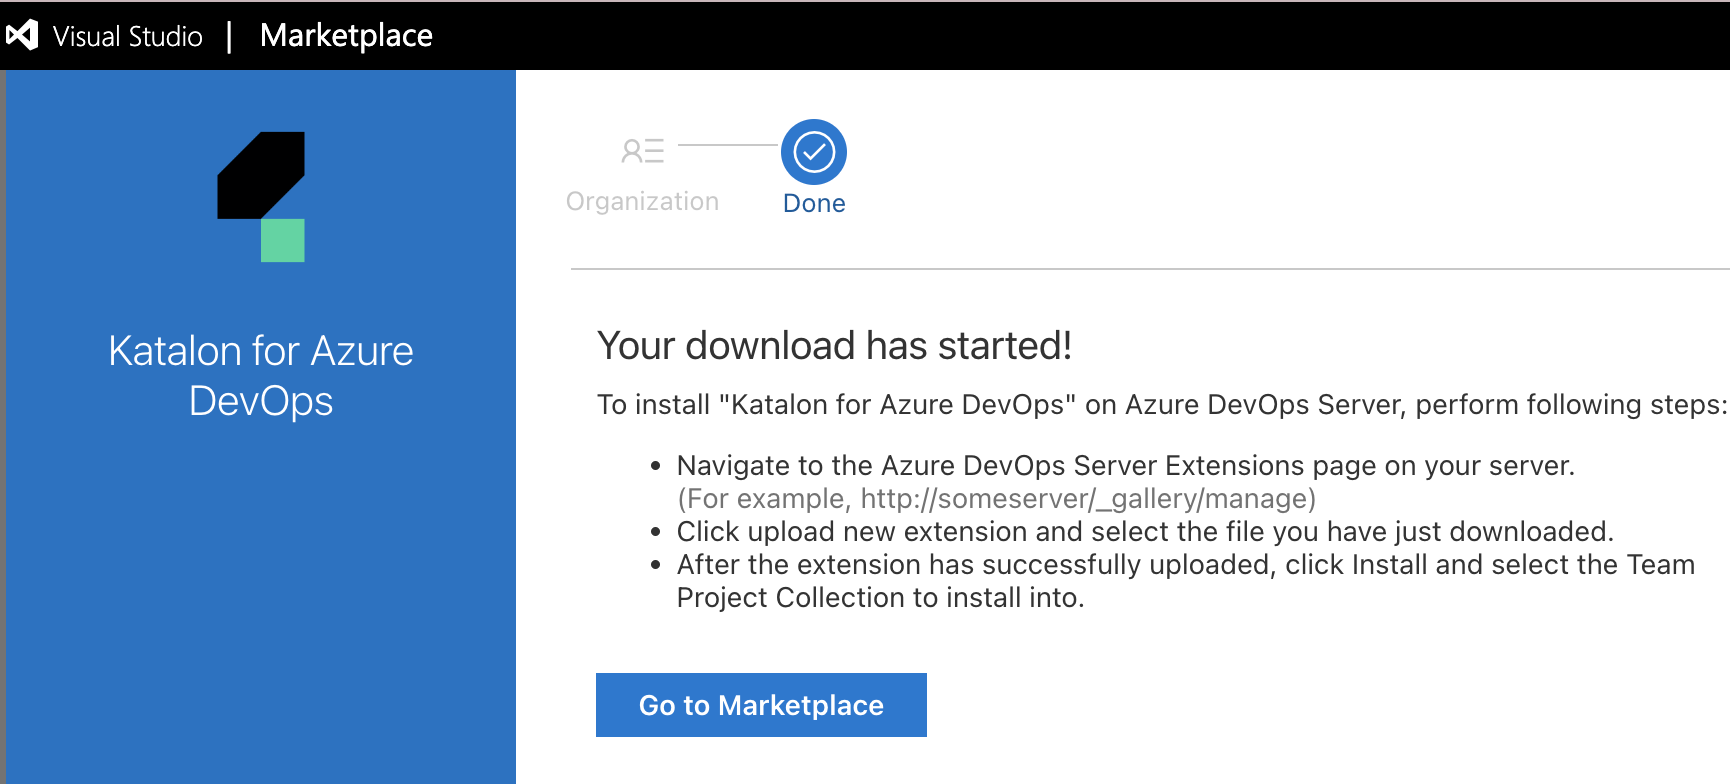
To run Katalon projects with Azure DevOps, you first need to install our Katalon for Azure DevOps extension from the Visual Studio Marketplace. This extension helps download, deploy, and execute Katalon Runtime Engine on Azure DevOps automatically.
To install the Katalon for Azure DevOps extension, perform the following steps:
Sample Projects
For Azure DevOps integration, you can refer to our sample project on our GitHub repository: Azure DevOps Extension Samples.
For Linux
You can refer to the sample yml file for Linux on our GitHub repository: azure-pipelines-linux.yml.
For Windows
For Windows, VM resolution is 1024 x 768 by default. If your app can render correctly on this resolution, use this sample script from our GitHub repository: azure-pipelines.yml.
Install the Screen Resolution Utility extension from the Visual Studio Marketplace. To run UI tests on Azure Pipelines, you might need to adjust the screen resolution so that apps render correctly. Learn more about screen resolution on Microsoft document: Setting screen resolution.
Use this sample script from our GitHub repository: azure-pipelines-windows-srs.yml.
Configure your pipeline
You have installed the Katalon for Azure DevOps from the Visual Studio Marketplace.
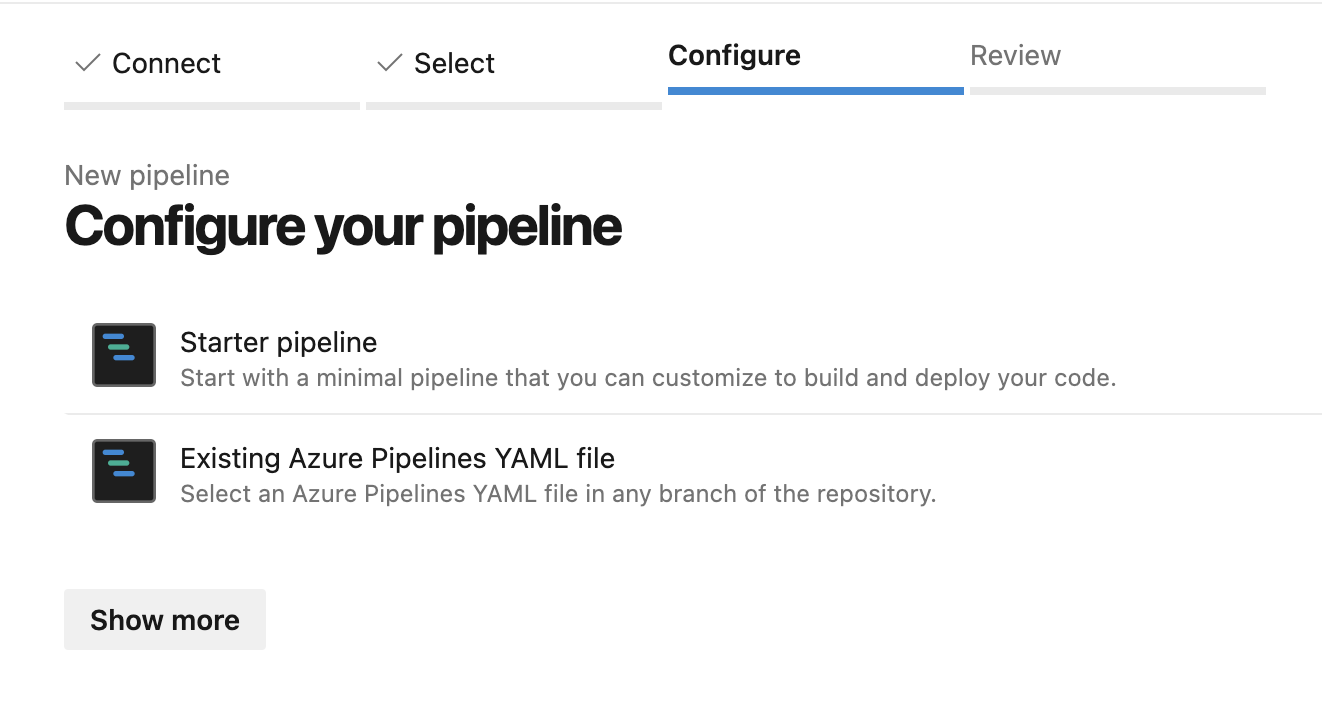
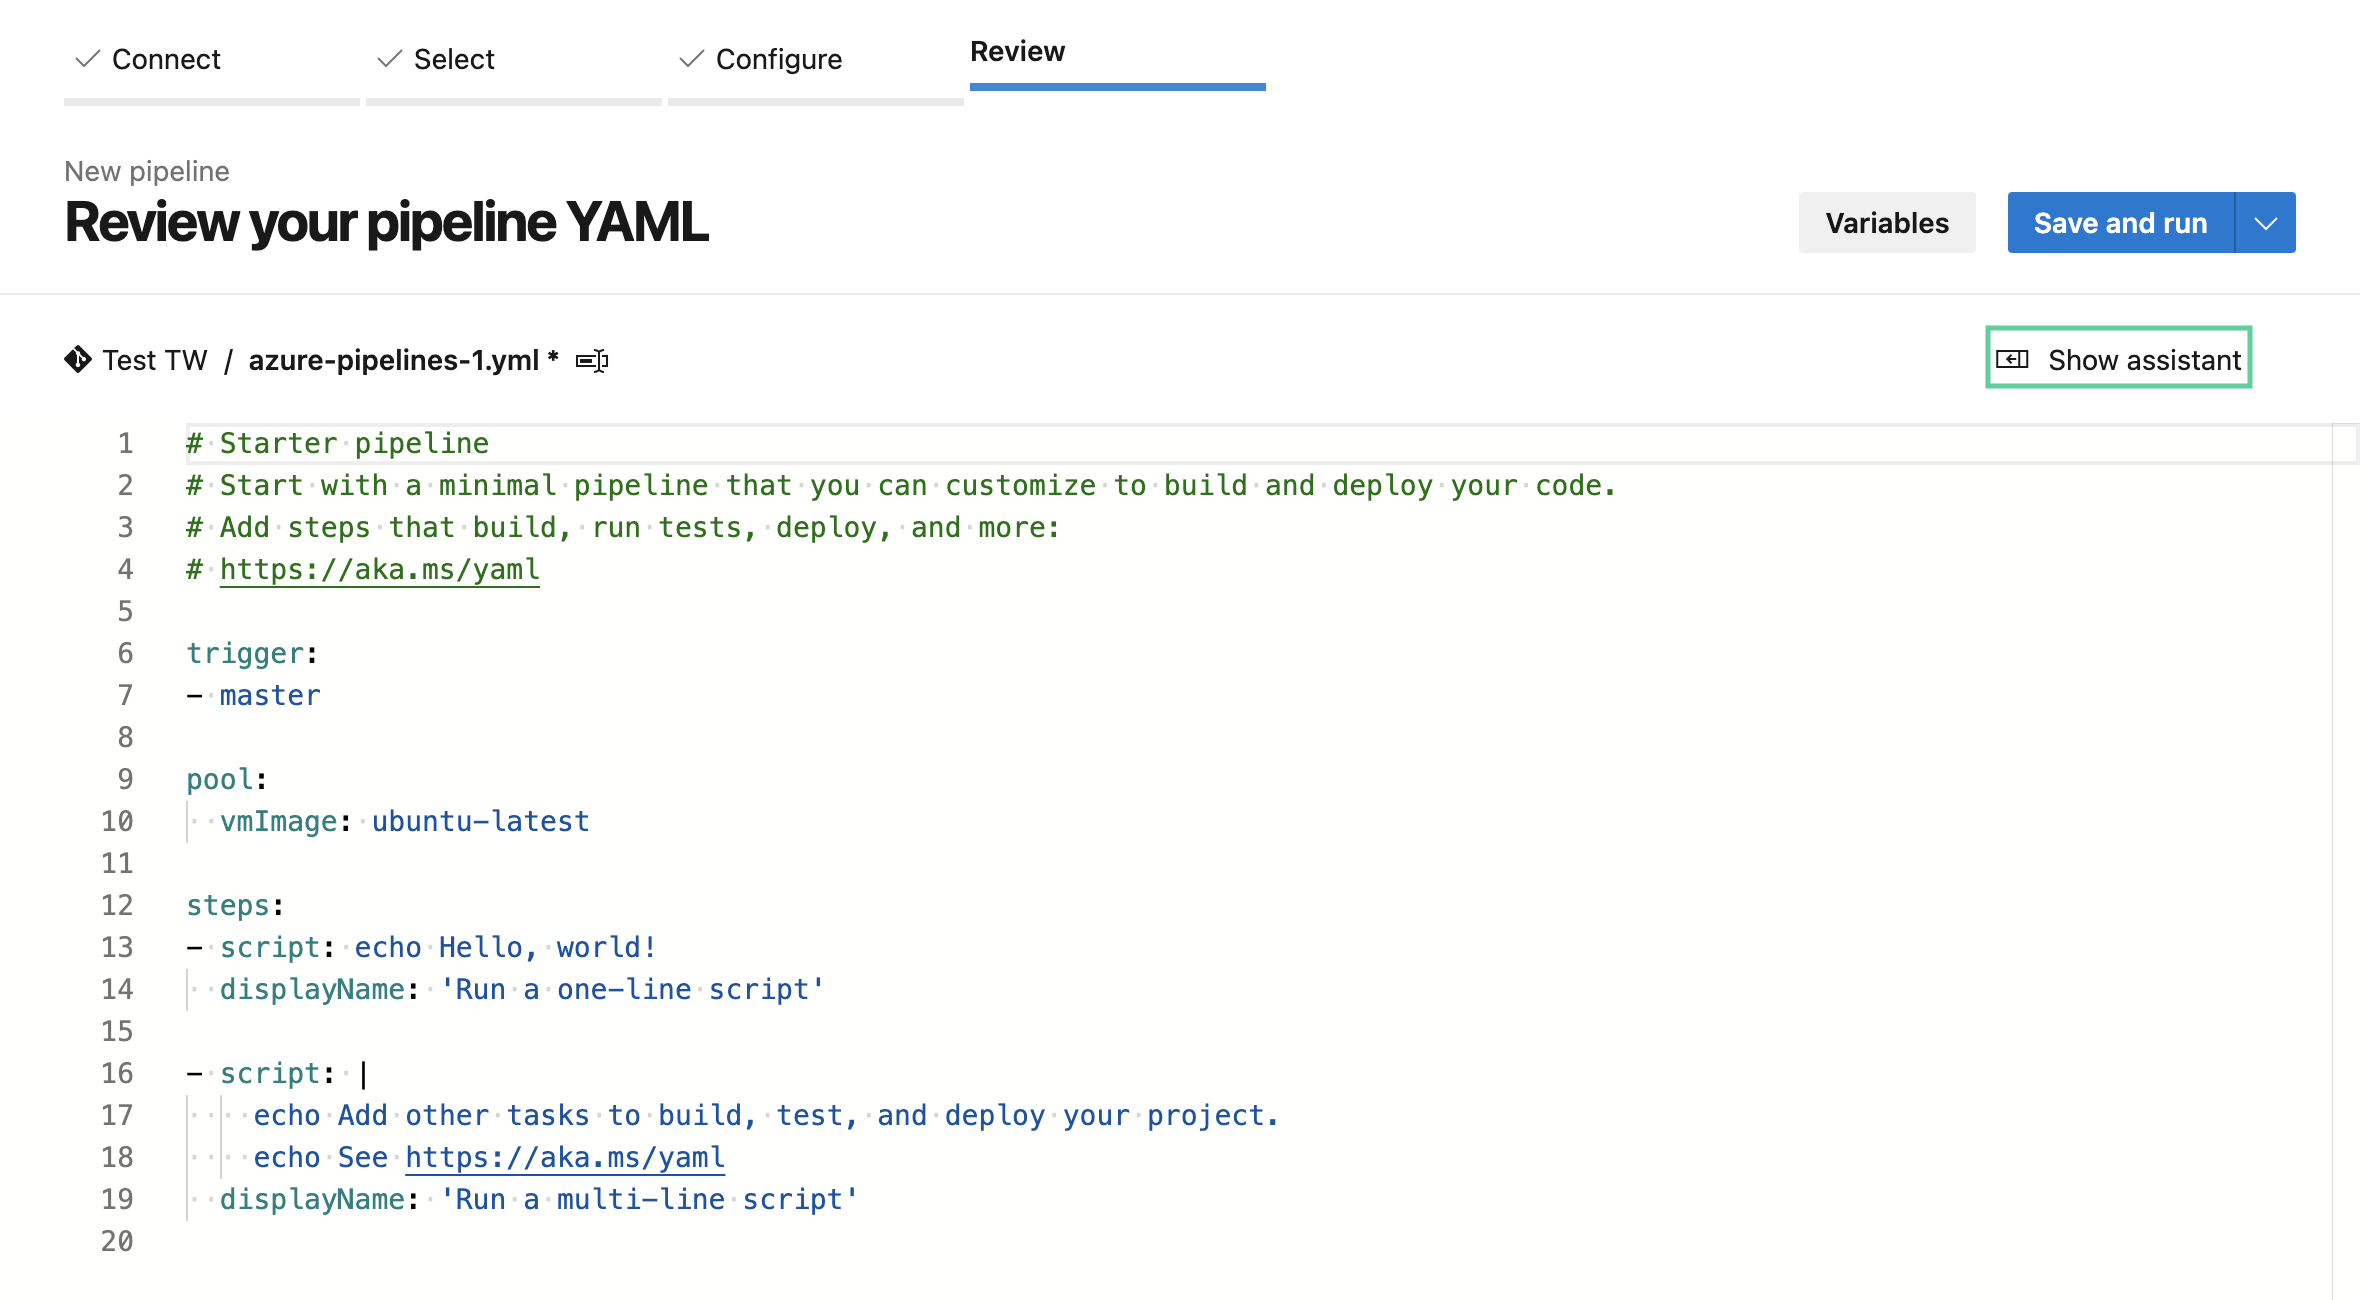
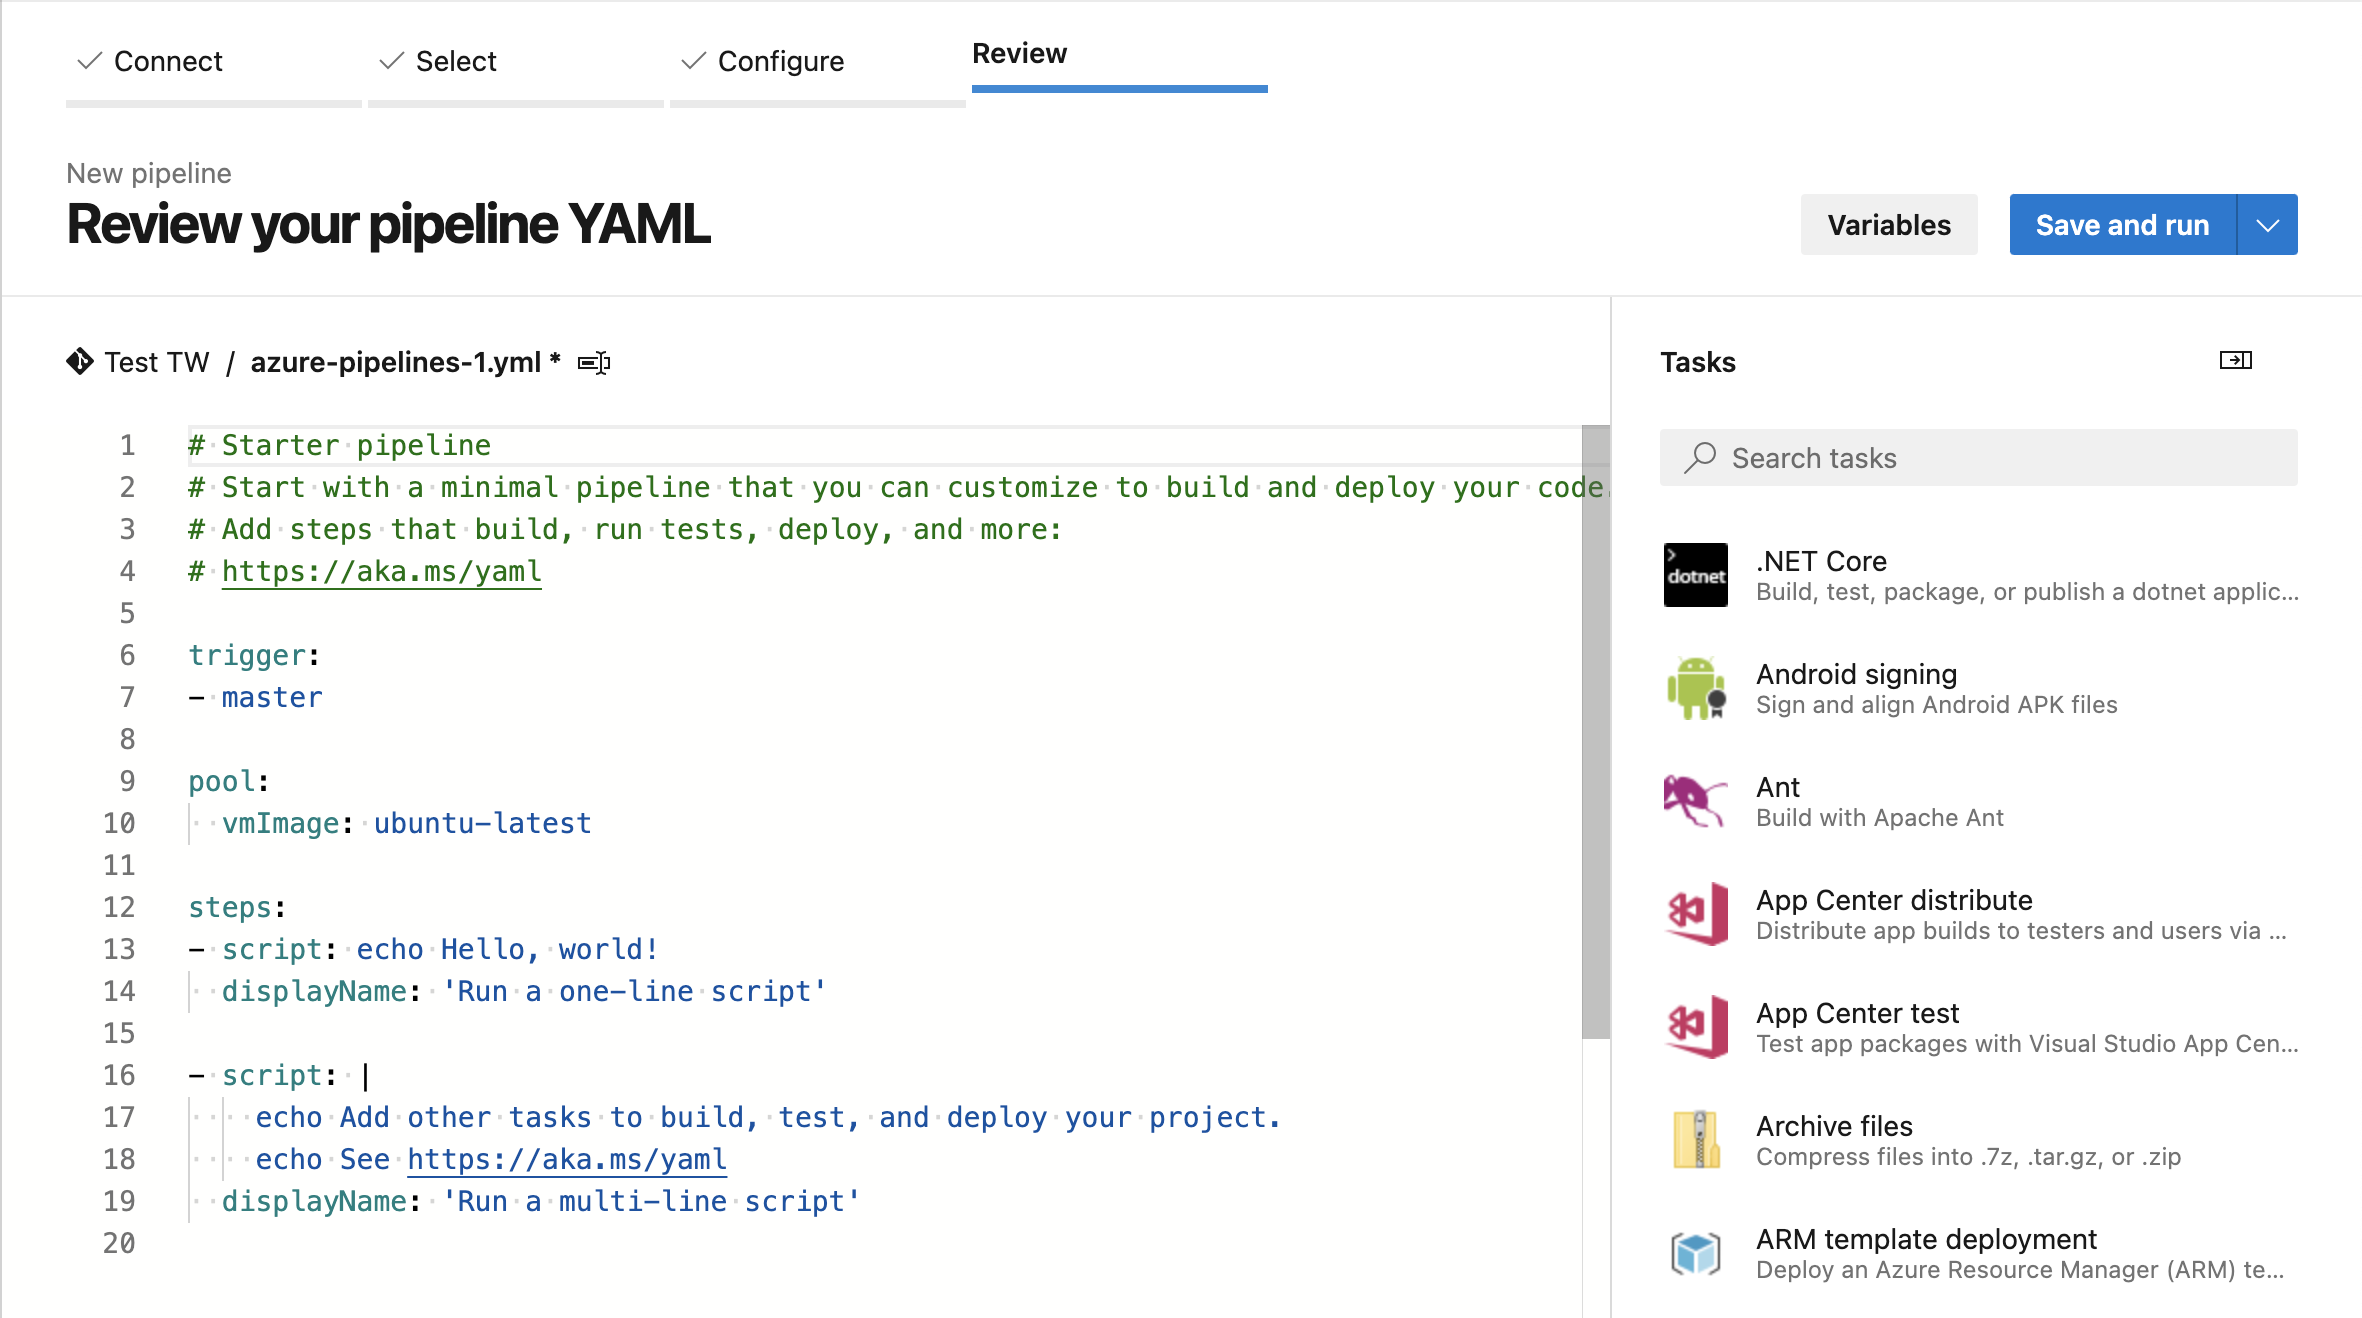
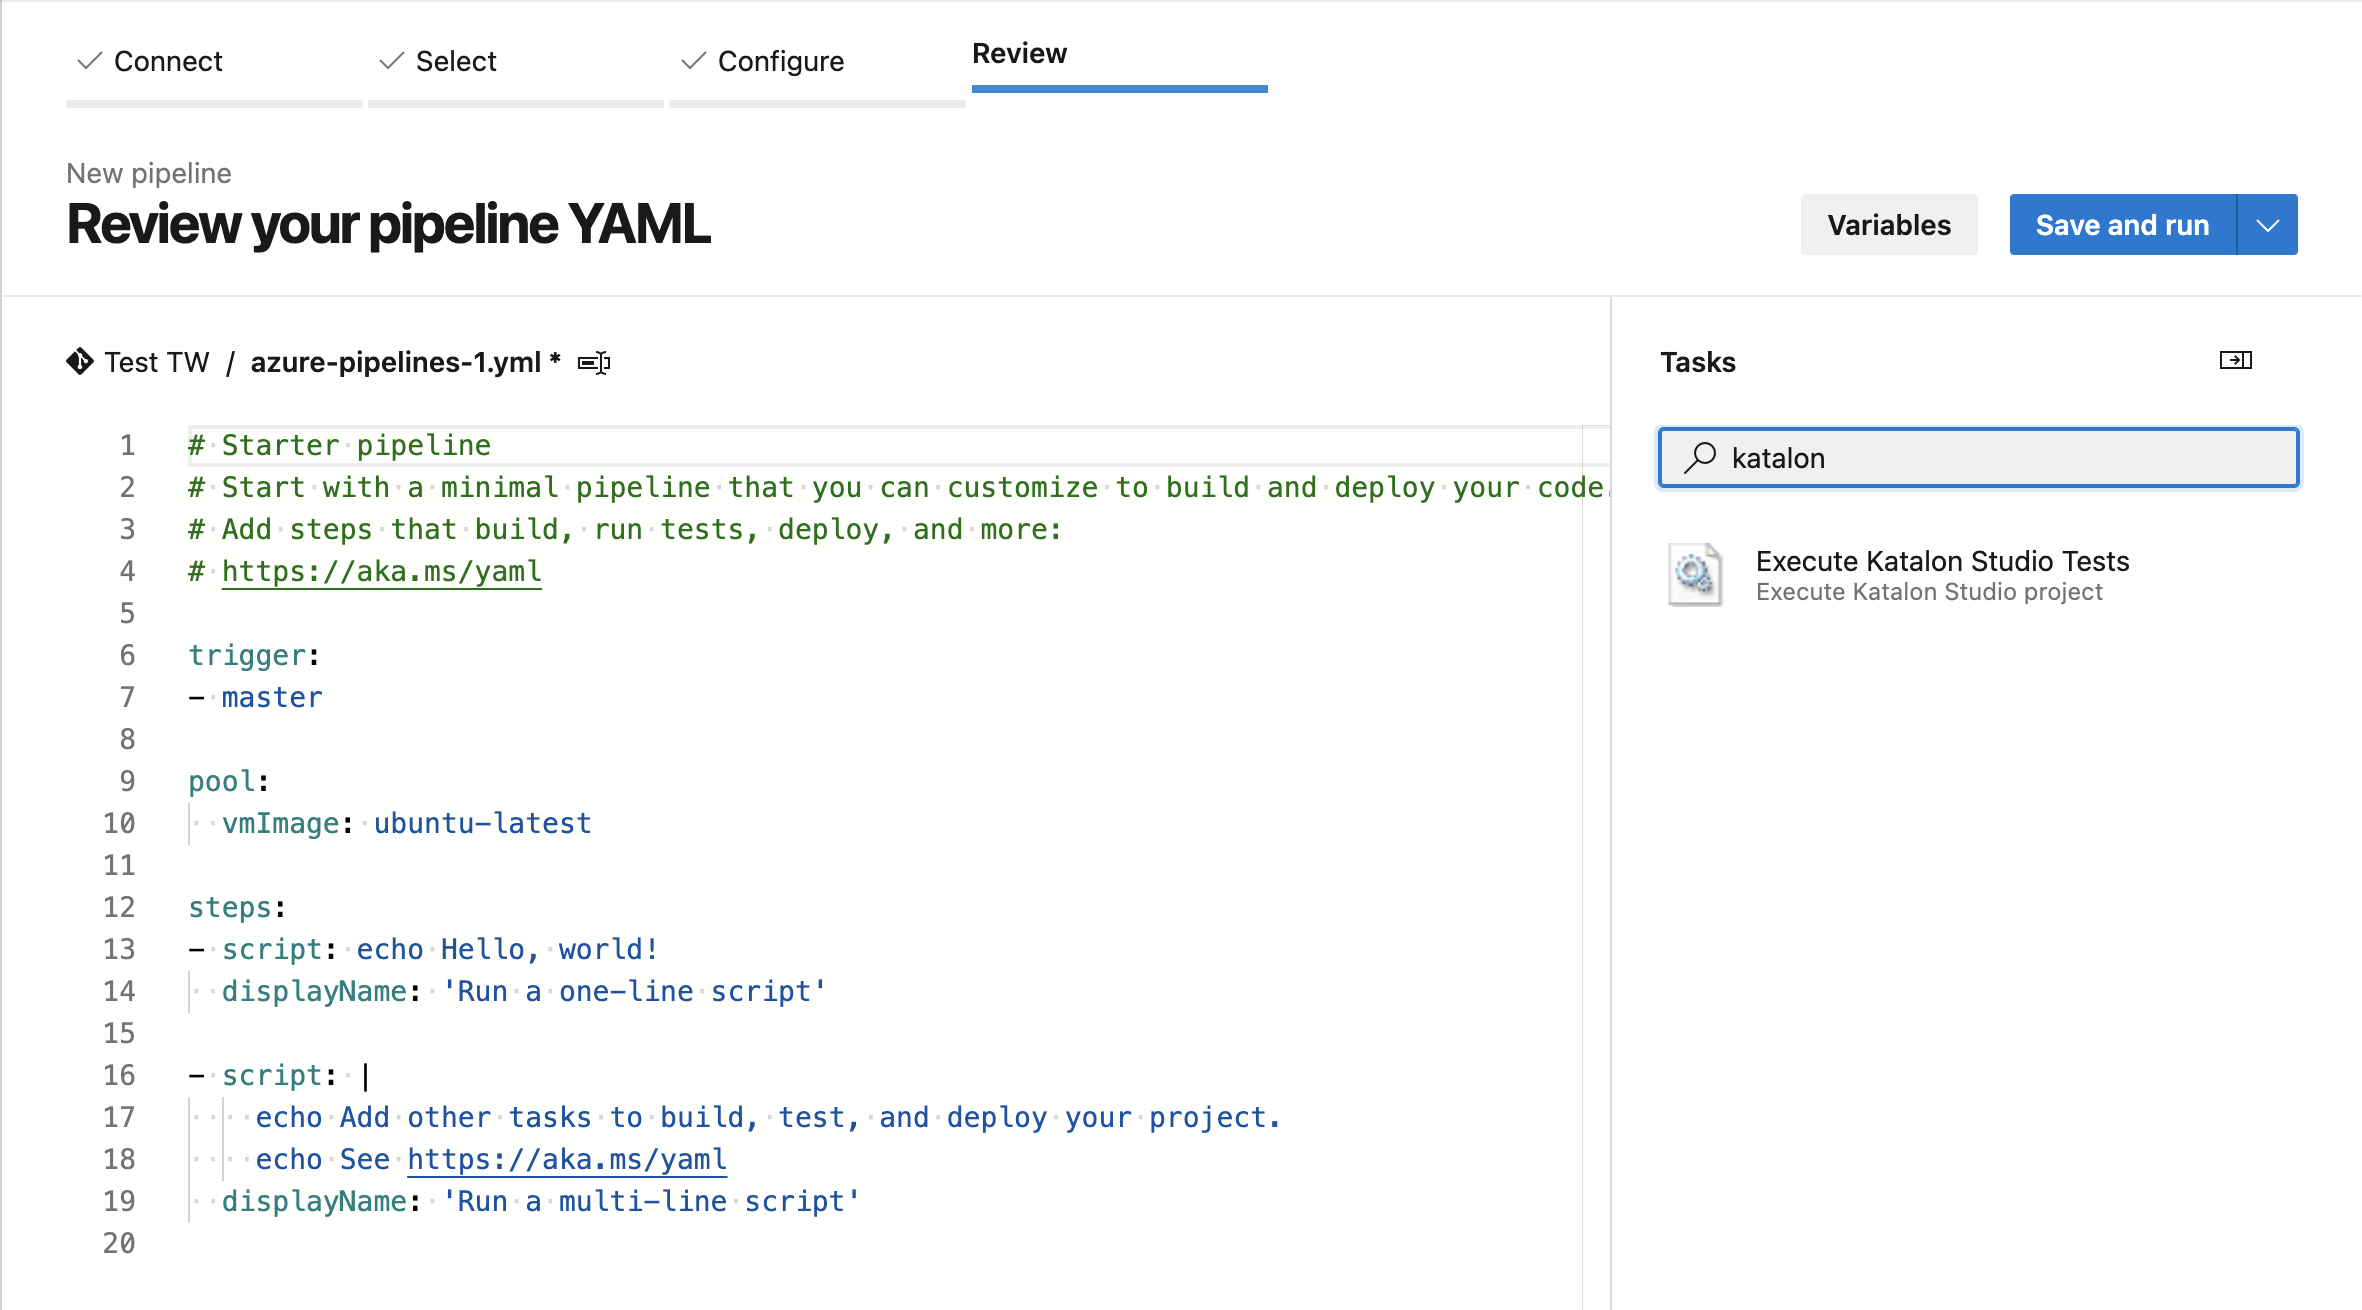
To run your Katalon project on Azure DevOps, you need to configure your pipeline. Do as follows:
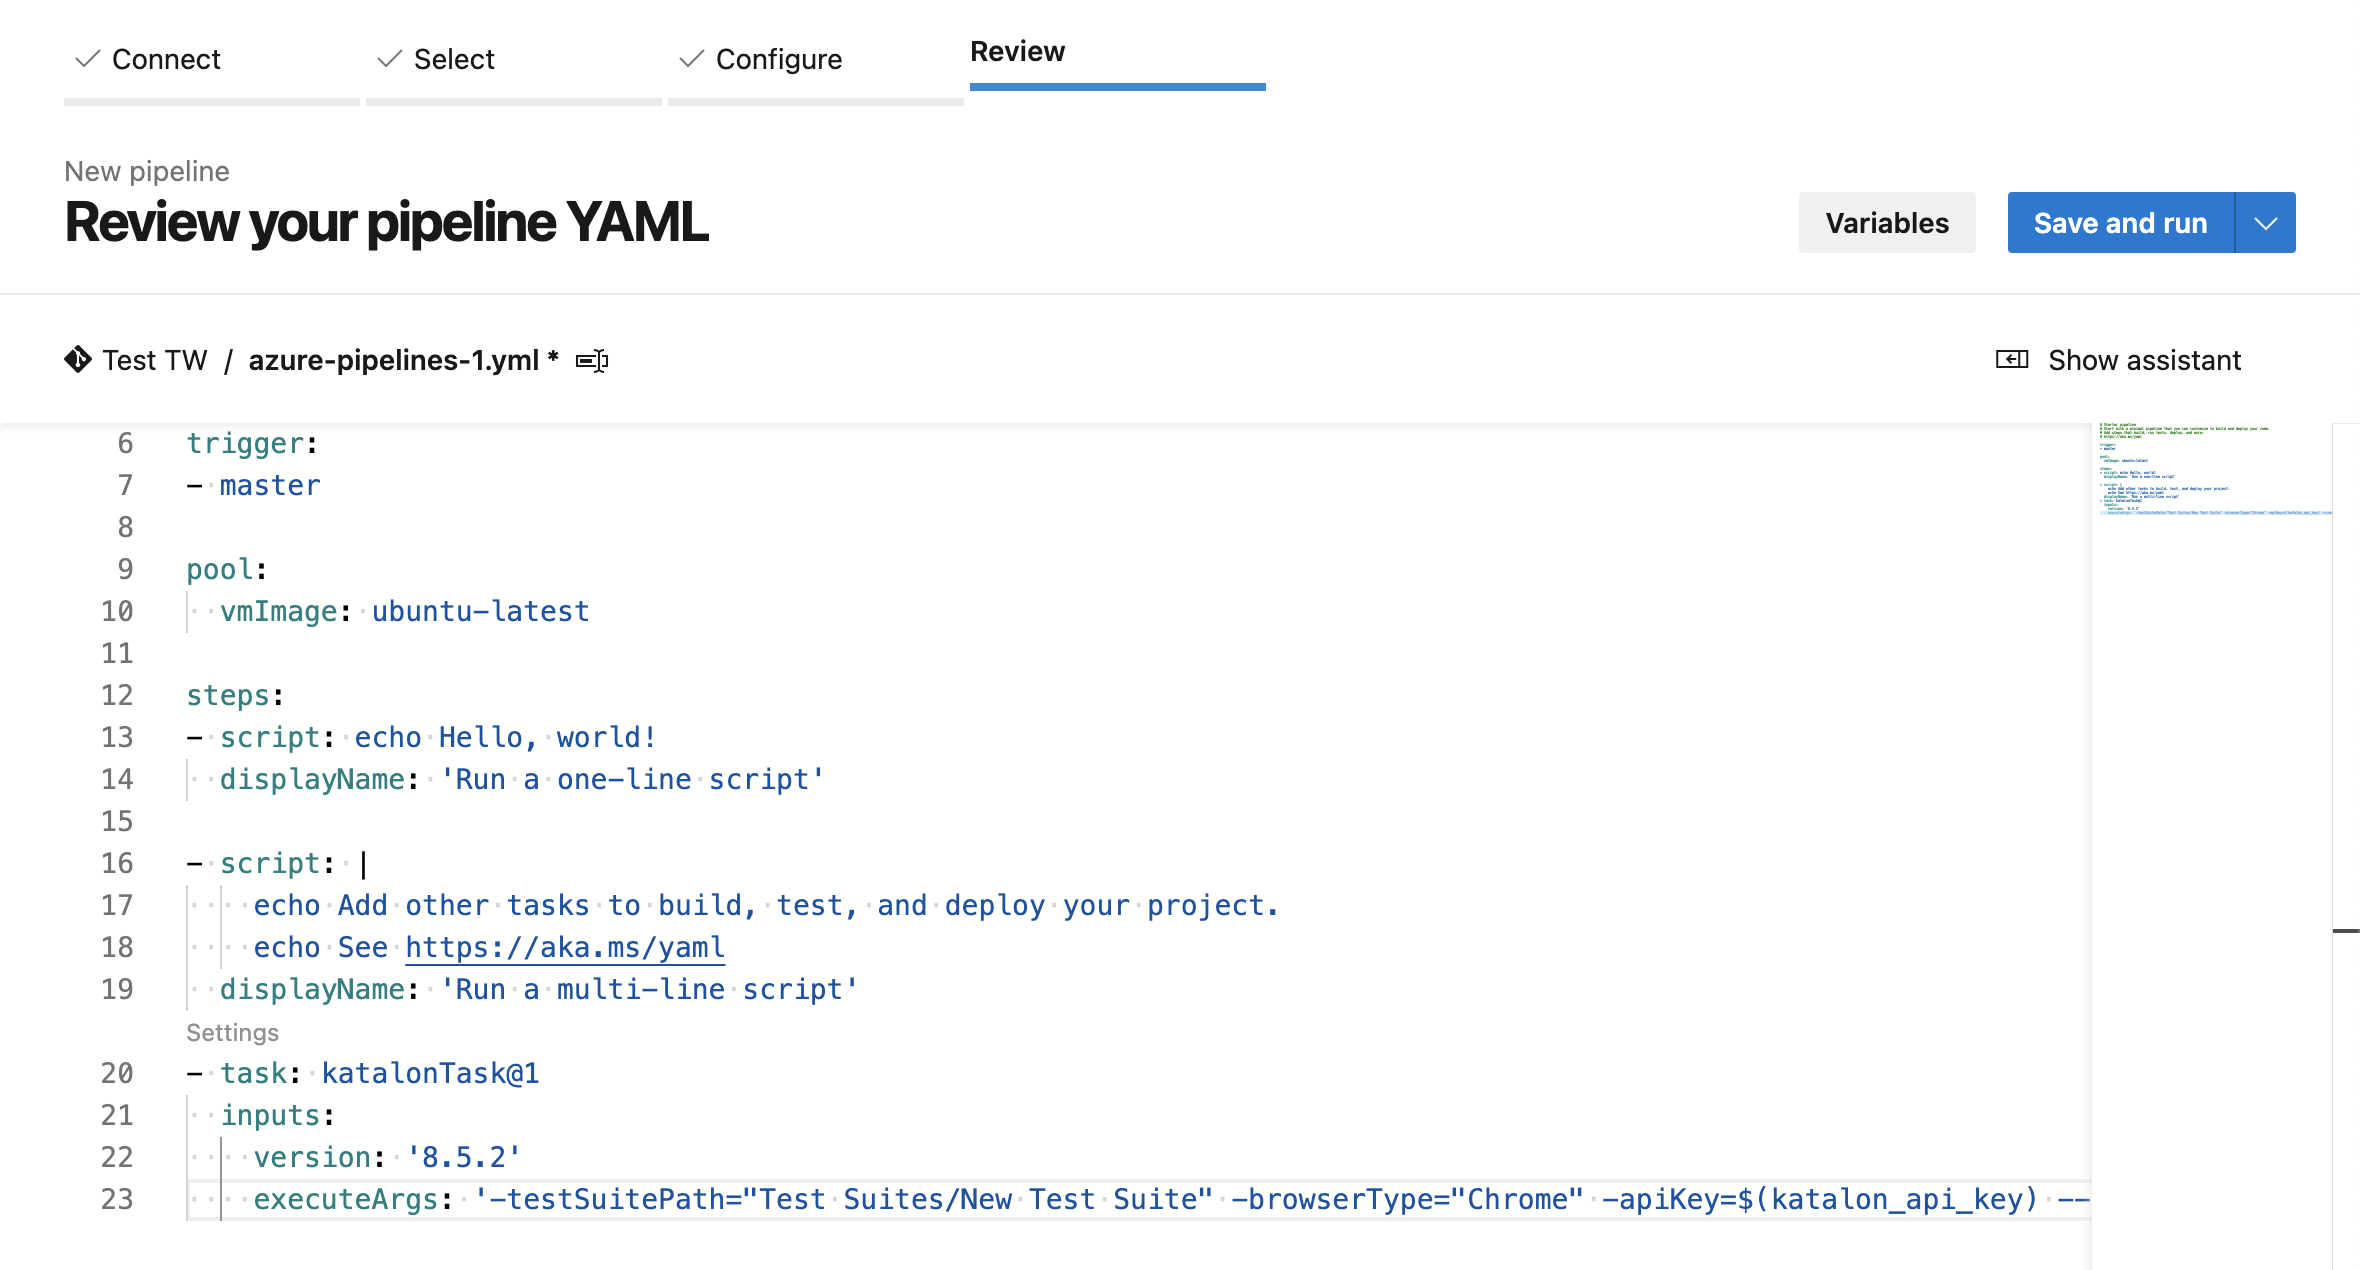 If the script is properly configured, it is successfully executed via Azure DevOps.



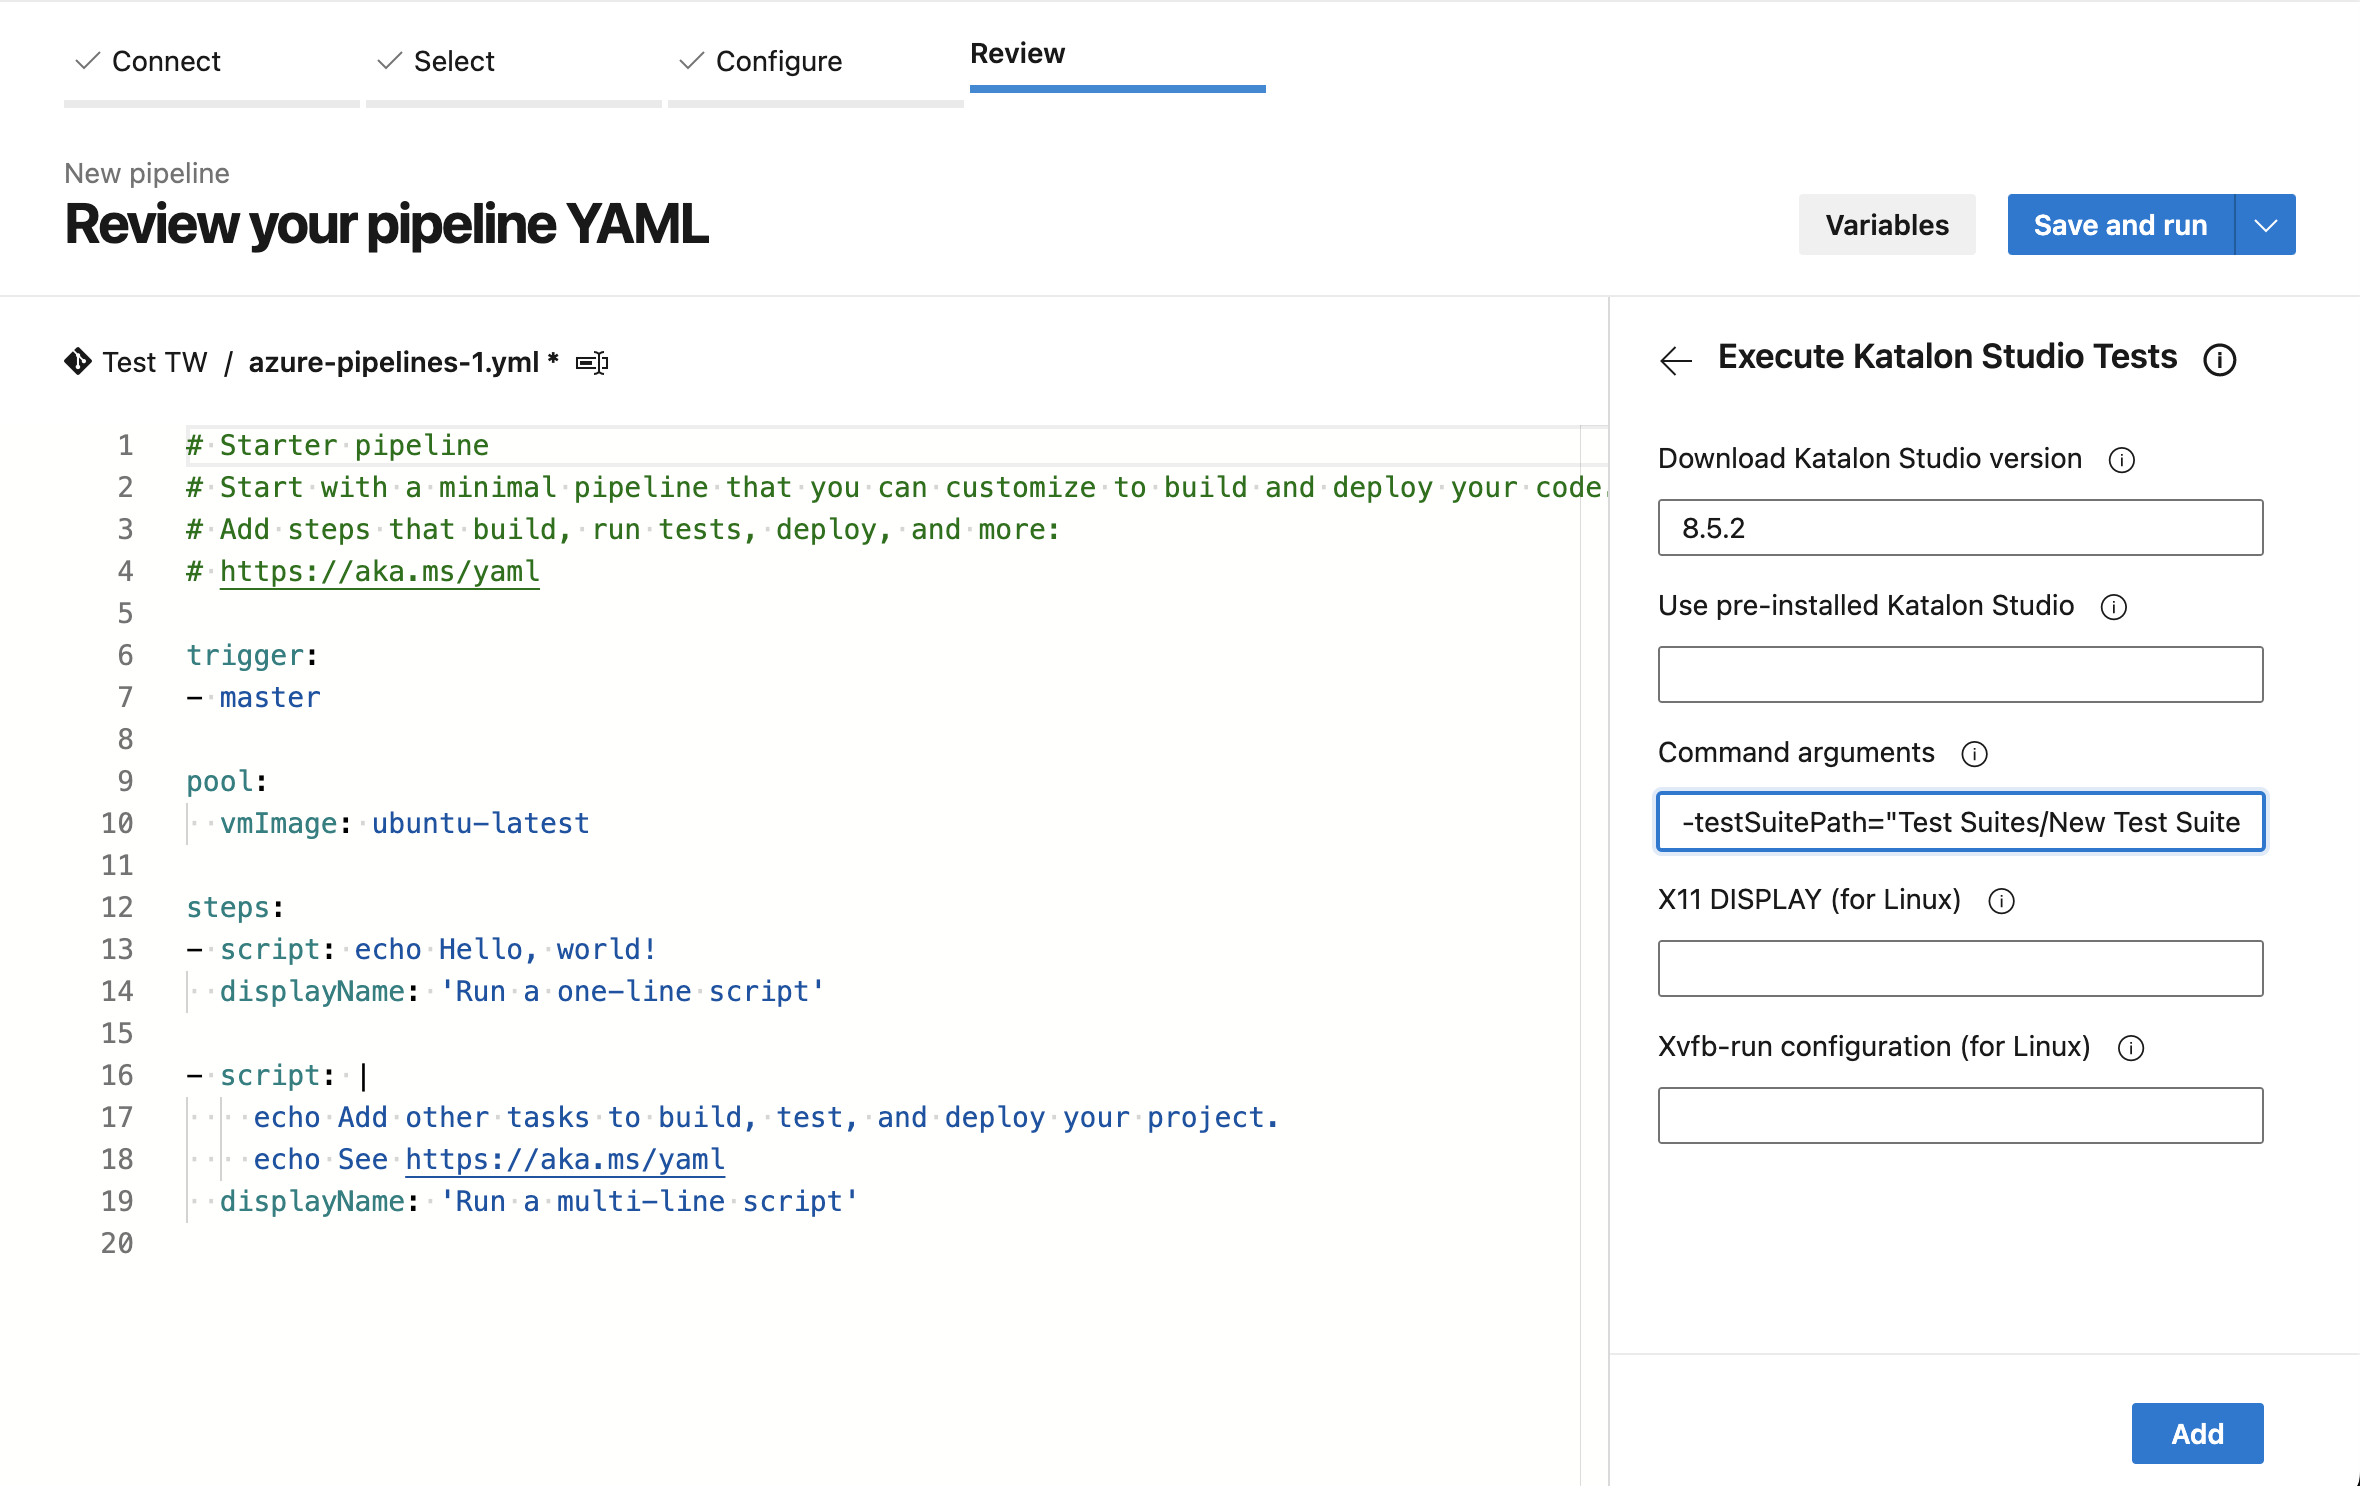 Optional: If Katalon Runtime Engine cannot be downloaded automatically (often due to network conditions), you can input the path to the pre-installed version in the